What to Know Before Installing Luxury Vinyl Planks
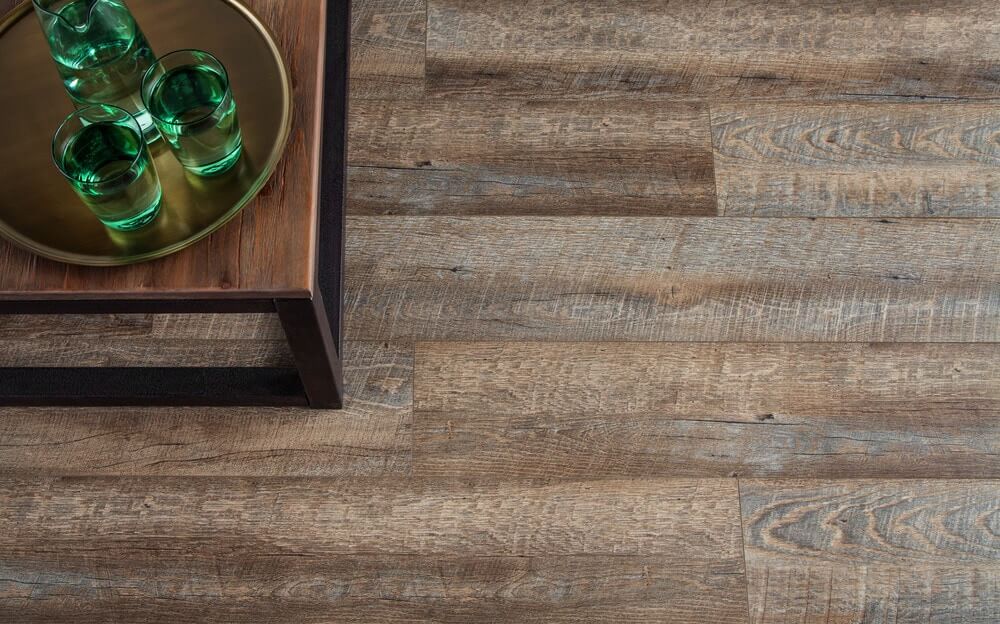
Luxury plank flooring has become a sought-after flooring solution in homes and businesses alike because it offers the look of traditional hardwood with a host of additional benefits. Not only are most luxury vinyl planks a less-expensive option than luxury hardwood, but it is often entirely waterproof.
The waterproof nature of the material makes it a flooring that can run from the front door throughout every room of the home including wet spaces, such as kitchens and bathrooms. For a rustic, casual look try the Vesdura Uluru vinyl planks. If you are looking for something more classic, the Aphrodite is a fantastic option.
Installing Luxury Vinyl Planks
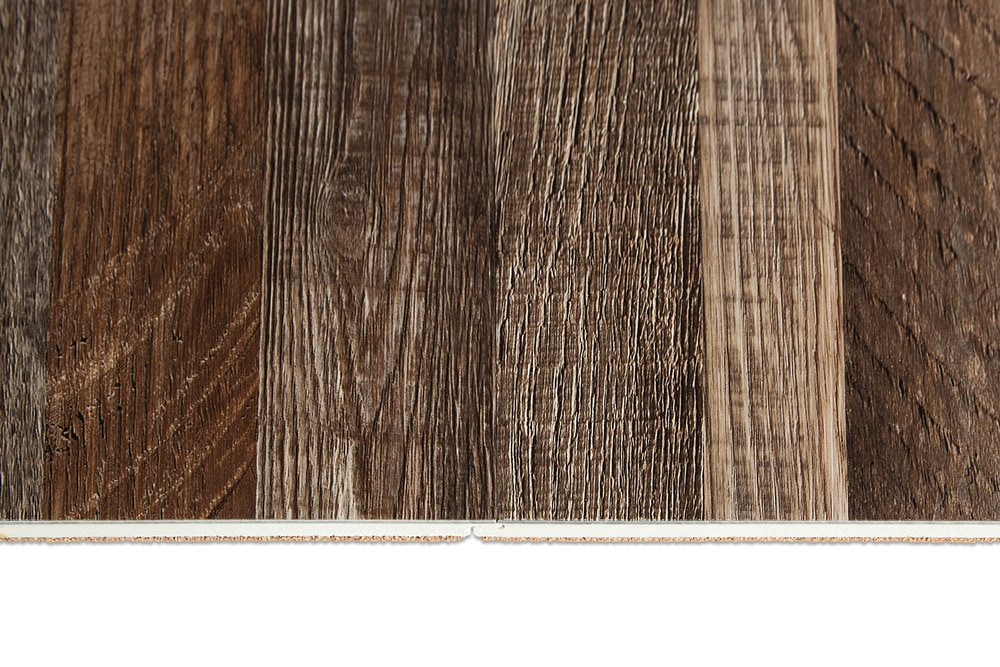
This man-made material comes in a wide variety of wood species looks and color options, making it easy to find a style that coordinates effortlessly with your existing decor. Luxury vinyl doesn’t require the same underlayment layers that laminate floors need. The underlayment is actually built into the design, streamlining the process installing luxury vinyl planks.
The floating design of the material includes a click-together tongue and groove design that makes it easy to take on as a DIY home improvement project. Whether you’re adding vinyl plank flooring to a single room or laying it throughout the entire space, a few simple tools and a little labor is all that is needed to get a finished look. If you want to know more about all the benefits of vinyl plank flooring, check out our article of 5 reasons to buy luxury vinyl planks.
What You’ll Need
- Metal Straight Edge
- Sharp Utility Knife with Additional Blades
- Rubber Mallet
- Table Saw (optional)
- Knee Pads (optional)
- Needle-Nose Pliers
Preparing the Subfloor
When a subfloor becomes loose from the joists, it is easy for squeaks to occur. Walk over the entire subfloor, inspecting for any loose areas or creaking sounds. If you do locate any, screw that section of subfloor into the joist below to eliminate the problem. While looking for any creaks, take note of the condition of the subfloor itself. Some types of luxury vinyl planks are better suited for less-than-perfect subfloors than others.
If there are any inconsistencies in the subfloor, take care of as much as you can and then choose a luxury vinyl plank with an attached foam layer on the bottom. Luxury vinyl flooring can be installed directly over a concrete or wood subfloor. If the floor is even, it can even be installed over existing vinyl. No matter which subfloor you use, make sure that it is completely clean and dry before you begin the installation process.
Choose a Starting Point
The first consideration in the installation process is which direction the flooring will run. Running it front to back can help a room feel deeper while running it from side to side can make a space feel wider. Both are fully acceptable options. Keeping in mind that existing walls may not be entirely square, lay out that first row of luxury vinyl flooring. Running a chalk line along the subfloor will help ensure that first row is nice and straight.
Mix and Match Planks
If you have chosen a luxury vinyl plank with a lot of color and pattern variation, mix and match a few planks from various boxes so that any variations are evenly dispersed throughout the floor installation.
Begin the Click-Together Installation Process
With a few piles of planks mixed and matched it is time to continue the installation process. Working plank by clank, click together the tongue and groove, using a rubber mallet to make sure each joint is secure. When you get to the end of a row, use a metal straight edge and a utility knife to cut the plank down to size.
The remaining portion can be used to start the following row. Using the end of one piece to start a new row will help ensure that all seams are staggered. When using this method your materials will go much farther. Just make sure that the seams from one row are at least six inches away from the seam of the previous row.
Tip: If you have access to a table saw, it makes it much faster to cut down boards than with a utility knife.
Cut Around Corners
Occasionally you may run into a corner or angle in the space. Using the utility blade, trace around the corner, scoring the area multiple times before breaking away the unnecessary piece. Gripping the piece you’re cutting away with needle-nose pliers will make it easier to break off.
Finish it Off
Once you’ve clicked your final boards into place when installing luxury vinyl planks, it is time to add the finishing touches. A wide baseboard or quarter round is ideal for bridging the slight gap between the floor and the wall. Putty any holes from the nails you used to install the baseboards and give them a fresh coat of paint.
When it comes to adding new flooring to a home, paying for professional installation can eat up a major portion of the overall project budget. Choosing to use vinyl plank flooring and taking on the installation yourself is a great way to transform a larger space quickly and on budget. The thoughtful design of this material makes it a great choice for beginners and experienced DIYers alike. Refresh the look of a single bedroom or a large living and dining area. Keep your newly installed floors protected in high-traffic areas by laying area rugs down in the places you walk the most.


