How to Install Hardwood Flooring On Stairs
|
|
Time to read 2 min
 Skip to content
|
|
Time to read 2 min
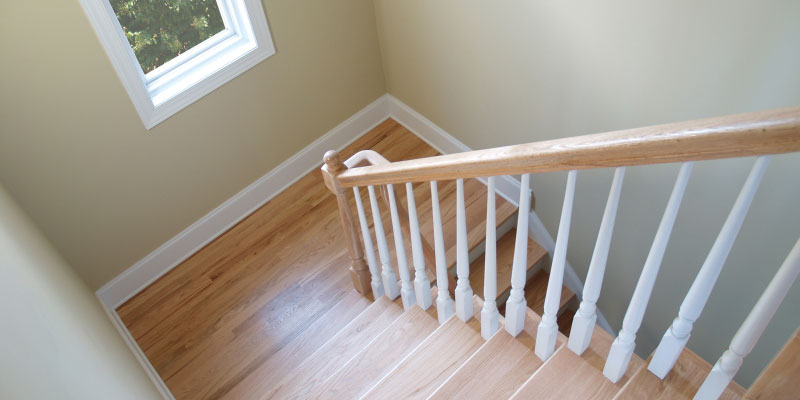
Hardwood is one of the best flooring choices for stairs, but a lot goes into installing it. In most home improvement projects, the skeleton of your stairs is already built, but the surface parts, the treads, and risers might need replacing. In this article, you’ll learn how to use hardwood planks to replace or cover your stairs’ existing treads and risers.
Measure each part of each step of your stairs separately. There are four important measurements: the tread (the part that you stand on) length and width and the riser (the back of each stair), and overall length and width. If your stairs are uneven in height, add 3/4 inch to the largest height of the riser and trim to fit. Do not cut planks too short! There is no easy fix for this besides getting a new plank and starting again.
For tread planks, you can buy planks with pre-made rounded edges to keep your stairs from looking blocky. Cut the treads large, about one inch larger than the stair, so they hang over the riser. Trim to your preference.
Place each riser against the frame underneath. There should be three frame parts, called stringers, to nail to: one on each side of the step and one in the middle. Hammer two nails into each stringer. You can then use a nail set to punch the nails deeper into the wood.
Make sure the tread lays flush and level against the riser. You can use wooden shims from your cuttings to fill in any gaps and make the tread level.
Apply construction adhesive to the stair, and then place the tread plank on top, squeezing adhesive as evenly as possible. Clean off excess adhesive, then nail treads to their corresponding stringers.
Once the construction glue under the treads dries, sand the planks lightly, then sweep and vacuum away sawdust before applying stain and finish. Stain will darken your stairs significantly, while a clear finish on its own will darken them slightly, about as much as the wood would darken when wet. Choose a stain/finish combo that fits your home decor. Brush the stain, then the finish, on with the grain, making sure to wipe away any excess with a cloth.
Now that your stairs have been redone from top to bottom, literally, you can work on your next flooring and construction project. How about installing some hardwood floors to match your new stairs? Anything is possible once your inner DIYer gets revved up.


