How to Successfully Paint Tiles: A DIY Guide
For those who don’t love their bathroom tiles, we’ve got great news. Painting tiles is the easy, affordable DIY alternative to an expensive bathroom renovation. As long as the tiles are still in good shape, painting will save you the cost and inconvenience of tearing them out and replacing them. Check out this easy how-to guide to paint tiles yourself and give them a makeover.
Choosing a Design
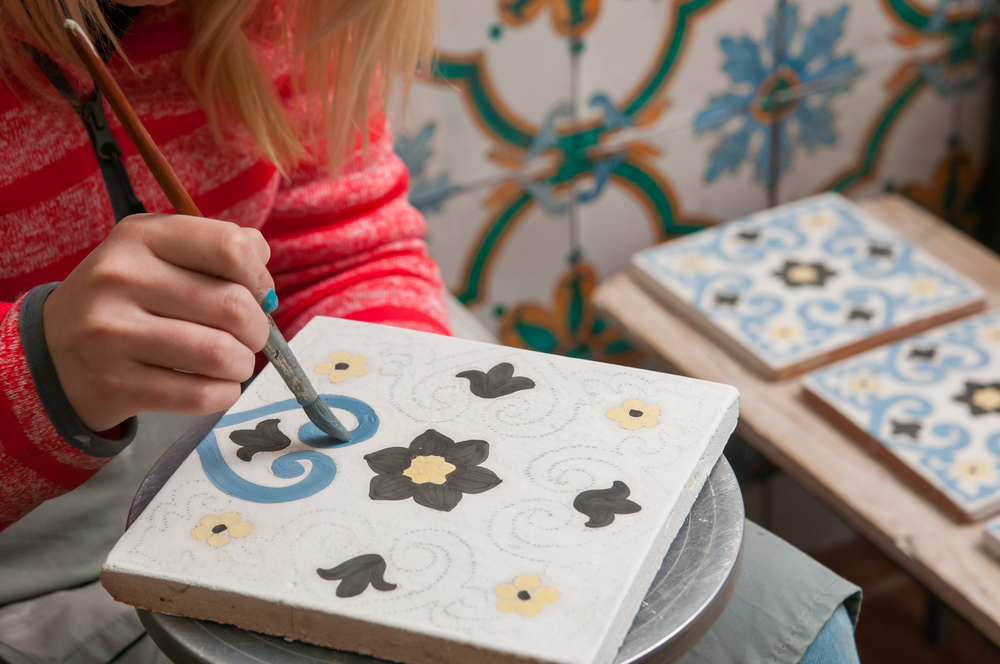
You can paint tiles a solid color for a fresh look throughout the space. However, you can also use painter’s tape to create patterns or stripes. Use your tile’s grid as a guide for geometric shapes. If you want to “color outside the lines,” so to speak, you might want a tape measure and level so your pattern is consistent. You may also want to use a stencil for moe elaborate designs like the one above.
Tools & Materials
Before embarking on this DIY project, assemble the tools and materials you’ll need:
- Dust mask
- Gloves
- Protective eyewear
- Tile cleaner
- 100-grit sandpaper
- Acetone
- Painter’s tape
- Paint brush, roller or paint sprayer
- High-adhesion primer
- Epoxy-based high-gloss paint
- Tile sealant
You’ll find these items at your local home improvement store. However, some websites also sell kits for painting tiles that you can have delivered right to your home. Keep in mind that most kits come in white so you may have to tint the paint yourself if you want colorful tiles.
Prepping Your Space
Getting your tiles ready to be painted is typically more time-consuming than painting them. But it’s still a fairly easy process. Just be sure to use the protective gear listed above. In addition, it’s critical to keep the room well-ventilated while you work.
How to Paint Tiles, Step by Step
Step 1: Clean the Tiles
Clean the tiles with a commercial tile cleaner. The product should have a mild abrasive to help prime the tiles for the next step.
Step 2: Sand the Tiles
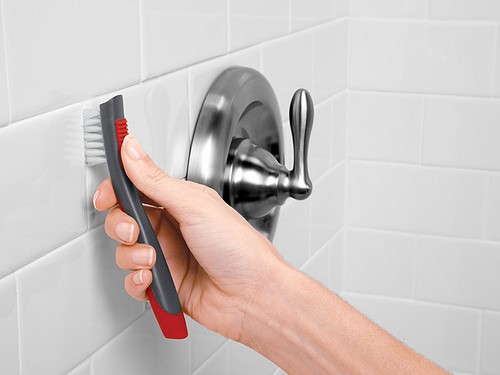
Use the sandpaper to gently sand the surface. Use a small brush to remove excess film and grout from the tiles.
Step 3: Wipe Them Down
Dampen a paper towel with acetone. Wipe down the tile surfaces to remove stubborn soap scum and any sandpaper particles left behind.
Step 4: Protect the Bathroom
Protect bathroom fixtures by removing them or applying painter’s tape.

Step 5: Prime the Surface
Prime the surface using high-adhesion primer. You only need to apply a thin coat. Allow the primer to dry for at least three hours before you paint tiles.
Step 6: Apply the Paint
Apply the epoxy paint as desired. For small areas, use a brush. Larger areas are more efficiently covered with a paint sprayer or roller.
Step 7: Watch Paint Dry
Let the tile dry for at least 24 hours. During this time, make sure the area isn’t exposed to moisture. Don’t use fans to dry as they can blow dust and dirt into your paint.
Step 8: Remove Painter’s Tape
If any painter’s tape has been applied, remove it slowly and carefully.
Step 9: Apply Sealant
We recommend sealing your painted tiles. This will keep them looking bright and vibrant for years, and protect your paint job from moisture and scratches. Follow the manufacturer’s instructions and reapply form time to time for longevity.
Just follow these steps and you’ve got a fresh new look for the bathroom. Use only non-abrasive cleaners on this surface to make sure it lasts for years to come.