Spring Cleaning Guide: Hardwood Flooring
Spring is just around the corner. It’s the time of year when you open the doors and windows, let the sun flow in, and start cleaning and organizing those things you’ve put off throughout the winter. Although cleaning out closets and the garage might be at the top of your list, it’s also important to consider your hardwood floors. What’s happened to them over the last year? What state are they in? Take stock of them and give them a good deep clean at least once a year. In fact, what better time to do it than in spring.
Just remember that if you’re planning on cleaning out all or a majority of the house, leave the floors till the end (best rule of thumb is to clean top to bottom for each room).
Dust the Hardwood
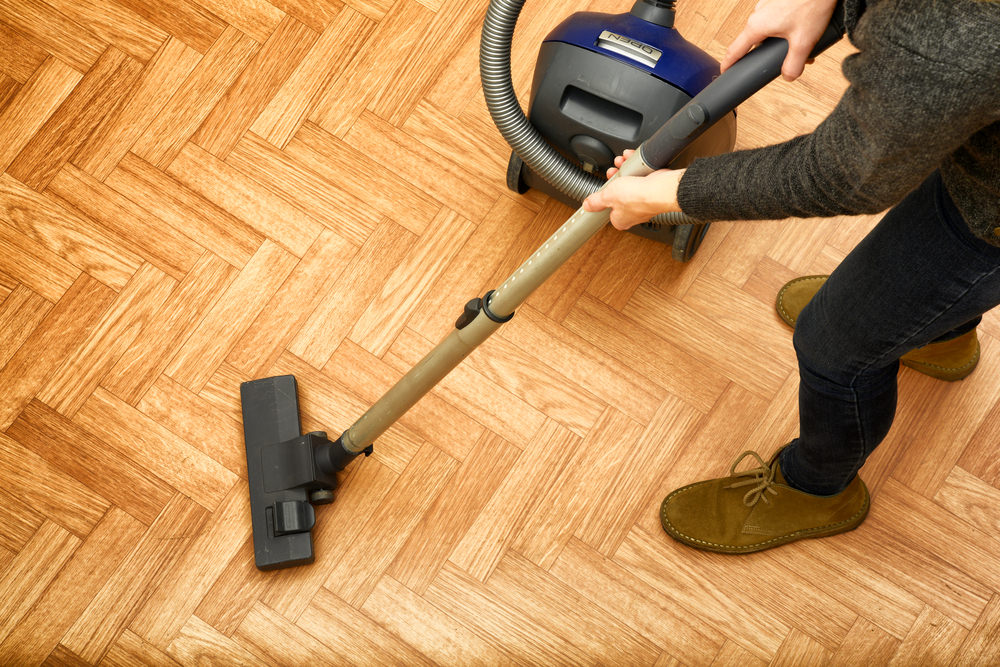
The first thing you’ll want to do is give your hardwood floors a deep clean. Rather than just cleaning the main open areas, you need to get into the corners, behind furniture, under area rugs, and under tables. This starts with a good dusting. Remove as much of the dust and dirt off the floors. One of the best options for this is a microfiber cloth that’s statically charged. This is great for dusting because the dirt clings to it (think of a cloth put in the dryer without a dryer sheet. It clings to everything, right?).
Since this is a good deep clean, you’ll want to really get the dust off of every bit of the floor. If it helps, break up the floor into specific areas and focus on each area one at a time until they’re perfectly dust-free.
Wet or Dry Mop the Floor
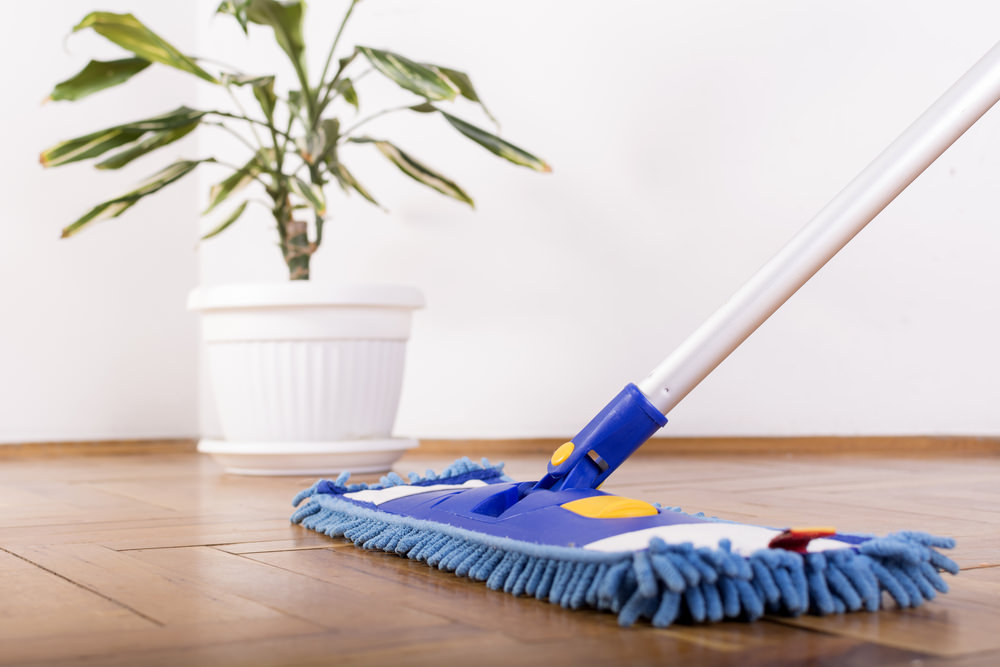
Once you’ve dusted, the next step is to mop your floor. If your floors are sealed, such as with a urethane, polyurethane, or poly-acrylic, then you’ll want to mop using a typical wood floor cleaner. Remember, however, to keep the amount of water to a minimum. It’s best to use a spray mist (rather than a bucket of water) and then mop up the water with a dry mop or microfiber cloth. Mopping with the grain of wood will decrease the chances of snagging your mop’s fibers on any rough spots in the wood.
If your floors are not sealed, you want to avoid mopping or getting any water on them, since unsealed wood floors are more sensitive to moisture and mopping could damage them. Instead, you’ll want to use a dry dust mop or electrostatic cloths.
Examine the Floor
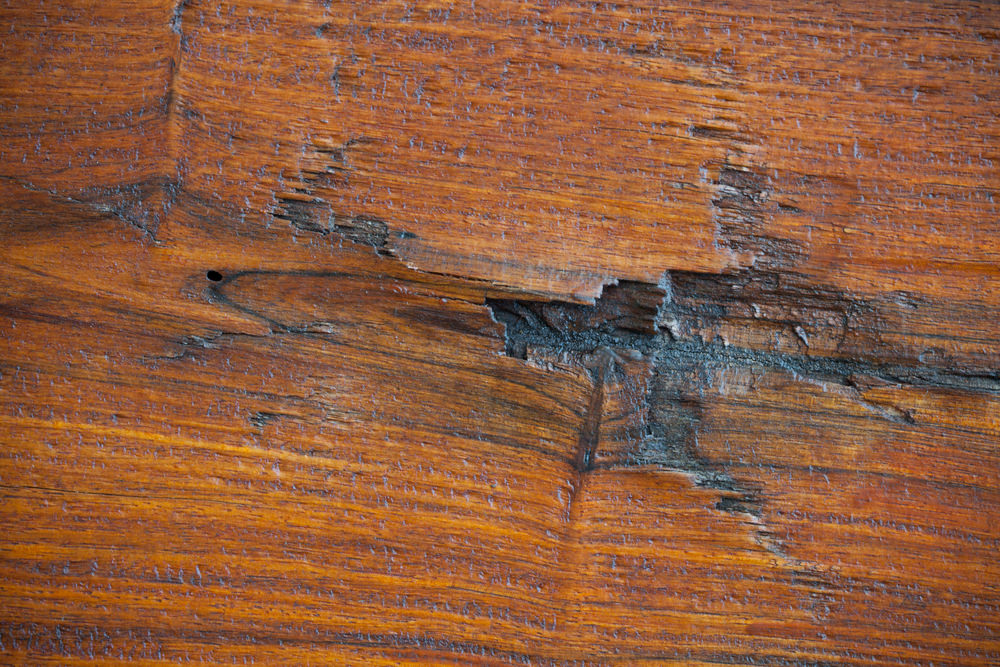
As you’re on your hands and knees cleaning every nook-and-cranny of the floor, take note of any scratches, stains, cracks, etc. It’s easy to miss these if they’re under furniture or behind an end table, but over time, they can add up. If you decide to rearrange the furniture in that room, you may find that one of these problems could become more obvious.
Take a notebook around with you and detail what the imperfection is and its current condition along with the location so that you can find it again. This will help you when you’ve completed the cleaning to go back through and fix these imperfections so that you don’t have to rely on your memory. These issues may seem small now, but if you keep up your floors, you won’t have to pay big bucks to have them refinished as often.
Make the Repairs
Once you’ve cleaned and marked what needs to be fixed, it’s time to move on to repairing those imperfections so you can enjoy your beautiful, newly refreshed floors. The first step is to deal with minor issues. A floor refresher is a great way to minimize the appearance of light scratches while renewing the wood. It’s best to do this immediately following your floor cleaning, since the floor needs to be clean when you apply it.
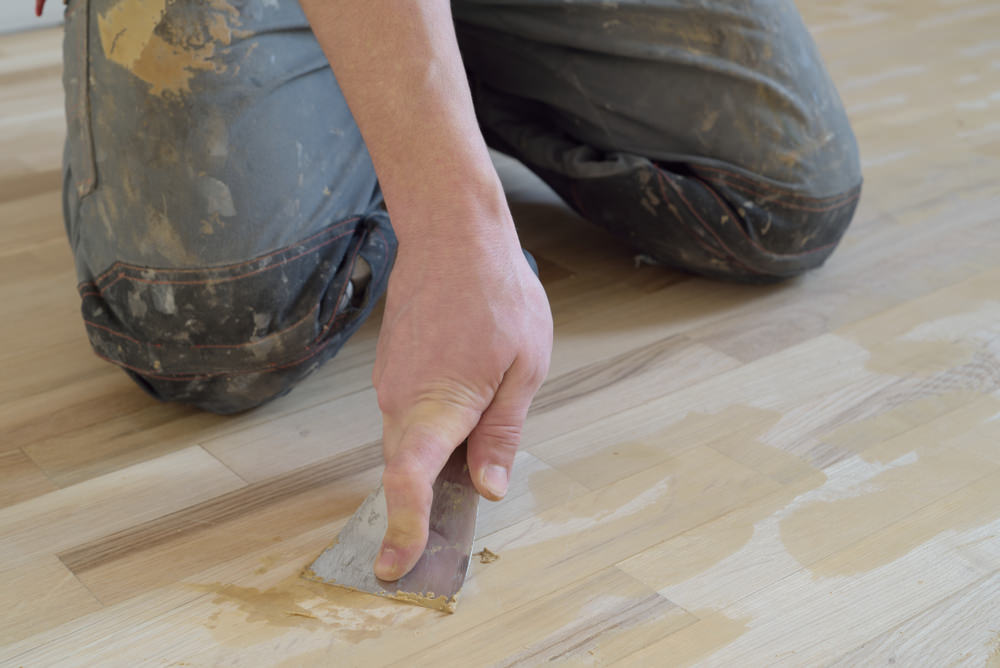
For deeper scratches, such as ones that have exposed some of the wood, put wood stain on a Q-tip and apply it to the scratch. Be sure to wipe away any excess. For deep gouges, apply wood filler with a plastic putty knife. Using this type of putty knife prevents additional damage to the floor.
Consider Refinishing
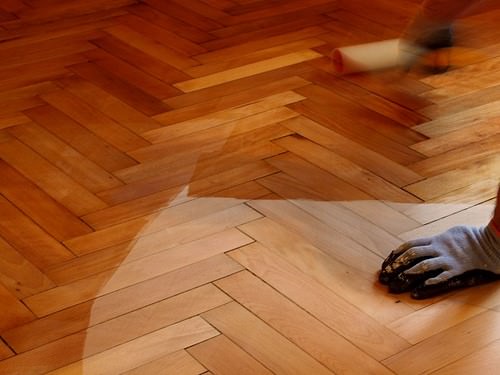
Hardwood floors need to be refinished every eight to 12 years. By refinishing them and putting a new seal on, you’ll keep them looking fabulous for years to come. After all, this helps get rid of scuffs, scratches, and more as well as adds a new layer of protection to your floors, so you don’t have to be as cautious with how you clean them.
You should realize, however, that refinishing your floors is a pretty major project and not one to take on lightly. The final sealant coat has to sit for 48 hours without being walked on. That means if the floors are in a kitchen, you won’t have access to anything in that area.
If possible, it’s best if you hire professionals to refinish your floors and plan to be out of town during that time. That way, it won’t be an inconvenience not having access to parts of the house. It’s an important thing to have done, so if your floors need to be revitalized, take the time to go through the process to protect them and help them last longer. When it comes time to sell your home, you’ll be glad you did.
Hardwood floors are an investment. If they’re taken care of, they’ll stay beautiful and last for years and years to come. Taking steps to clean, repair, and assess the condition of your floor is worth the time and effort. Whether you do it this spring or another time of the year, put it on your calendar. If needed, get help from others who know more about hardwood floors to guide you through.
Questions about cleaning hardwood floors? Ask us in the comment section below!


BuildDirect Product Expert Team
Hi Mollie,
Yes, it would be the same for engineered hardwood except you will have to look into whether you can refinish the floor based on the thickness of your wear layer. I highly suggest staying away from moisture as much as possible as that can damage the floor. Also, be sure to test out any chemical cleaners on a small, inconspicuous spot to ensure it does not ruin the finish. Please let us know if you have any other questions!
Mollie
Is this the same for engineered hardwood?