Slate Tile Installation: PRO or DIY?
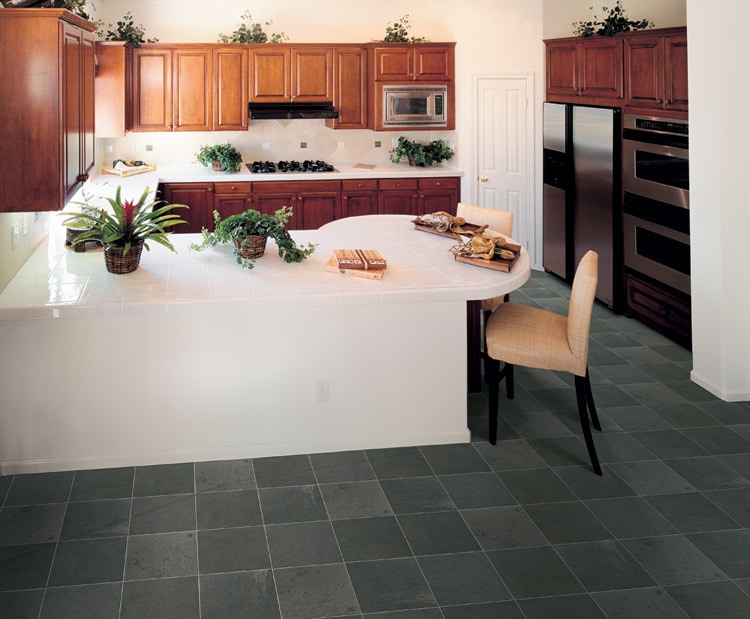
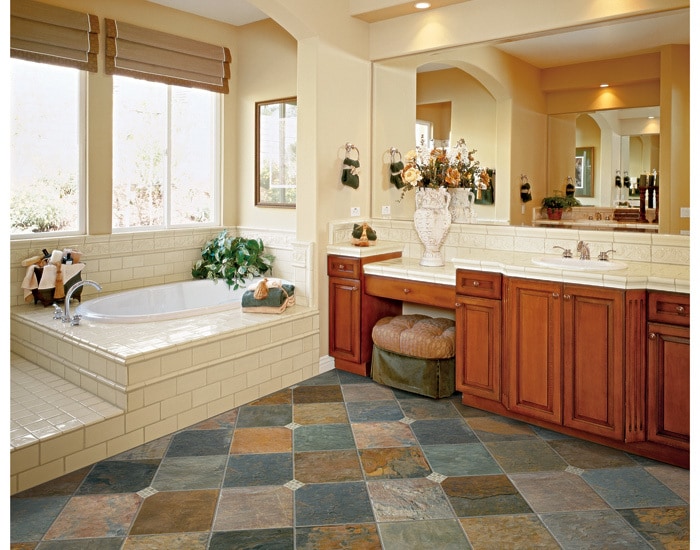
Slate is sleek, sophisticated, and stylish. It’s also durable and easy to keep clean. Choosing slate tile flooring for your home is a great way to give your space an instant upgrade and to boost your home’s overall value.
However, slate tile can be pretty pricey. It’s certainly a worthwhile investment, but the costs can be a bit staggering for homeowners who are trying to stick to a budget. That’s why many people consider do-it-yourself installation for their slate tile floors as a way to save a bit of money on this home improvement project. But is this something that the average homeowner can tackle? Learn more about the slate tile installation process to find out if it’s something you want to take on or would rather leave to the professionals.
Do You Know How Much to Buy?
To figure out much tile you need to order, first determine the square footage of your space. Measure the length by the width in feet. If the space has an uneven layout, cut it into rectangular sections and measure each for the square footage. Add those numbers together to get the total square footage for your tile order.
When installing tiles, you will likely need to make cuts in order to get the right fit. In addition, there may be mistakes such as a dropped tile that gets cracked, or you could need to replace a broken tile years down the road. These are all good reasons to order at least 10 percent extra tile when installing your new floors. Therefore, if your total square footage comes to 100 square feet, you should order 110 square feet of slate tile.
You’ll likely need to order your tile by the box; typically, retailers don’t allow you to purchase part of a box. To find out how many boxes to order, simply divide your total square footage by the square footage included in each box. If each box has 10 square feet of tile, you need to order 11 boxes for the example provided above of 110 square feet (including 10 percent overage).
Do You Know How to Prep the Floor?
Before you can lay any tile down, you need to create a nice smooth surface for it to lay on. Take off the existing flooring to expose the subfloor. Scrape this surface until it’s even and smooth; then clean off any dust or debris.
Next, install masonry backer board on your subfloor. This will provide the added strength needed to support the weight of the tile and give added structure to ensure the tiles don’t bend or crack. Spread thin-set mortar over the subfloor in a layer about 1/8 inch thick. Lay the backer board down and secure it in place with screws, making sure no screw heads protrude at all from the boards.
Finally, sweep and vacuum the reinforced subfloor. You need the surface to be completely clean and dry before proceeding to the next step.
Do You Know How to Install the Tiles?
Laying the tile is a very detailed process, so take your time and use extreme care when handling the tiles. It helps to lay everything out before you start to make sure the floor achieves your desired layout. Find the center of the floor by marking the middle of each wall and snapping chalk lines from these points. The place where the chalk lines overlap is the center. Start laying out tiles from this point, adding more chalk lines to mark the layout.
When you reach the edges of the room, mark where the tiles need to be cut to achieve a perfect fit. You’ll need to use a wet saw to get a clean, accurate cut. Be sure to cut very slowly and carefully to prevent damage to the tiles.
Mix thin-set mortar for your tiles and begin applying it to the floor in small sections. Hold a notched trowel at a 45-degree angle to get a thin, even layer of mortar. In the ridges that the trowel forms, you should just be able to see the backer board through the layer of mortar.
Position a slate tile on top using your chalk lines for guidance. Press downward firmly, wiggling it slightly back and forth to set it in the mortar. Use a rubber mallet to tap the tile down lightly into the mortar and remove any air bubbles. Place plastic spacers around the edges of each tile to leave room for the grout. Continue with this method until you’ve laid down all the tiles for the space.
Do You Know How to Seal and Grout the Tile?
Wait 24 hours after all the tiles have been laid to start applying grout. Mix the grout according to the manufacturer’s instructions; then apply it directly to the tile. Press it into the spaces in between each tile, and remove the spacers as you go. Remove any excess grout that gets on the slate tiles. Allow the grout to sit for 72 hours; then apply a grout sealer.
Do You Know What Tools and Materials Are Needed?
Installing your own slate tile can help save money on labor costs. However, you will need to shell out for the materials and equipment necessary to complete this DIY project. You may already have some of the tools on hand, especially if you regularly work on home improvement projects. Certain types of equipment, like the wet saw, can be rented by the day to save money.
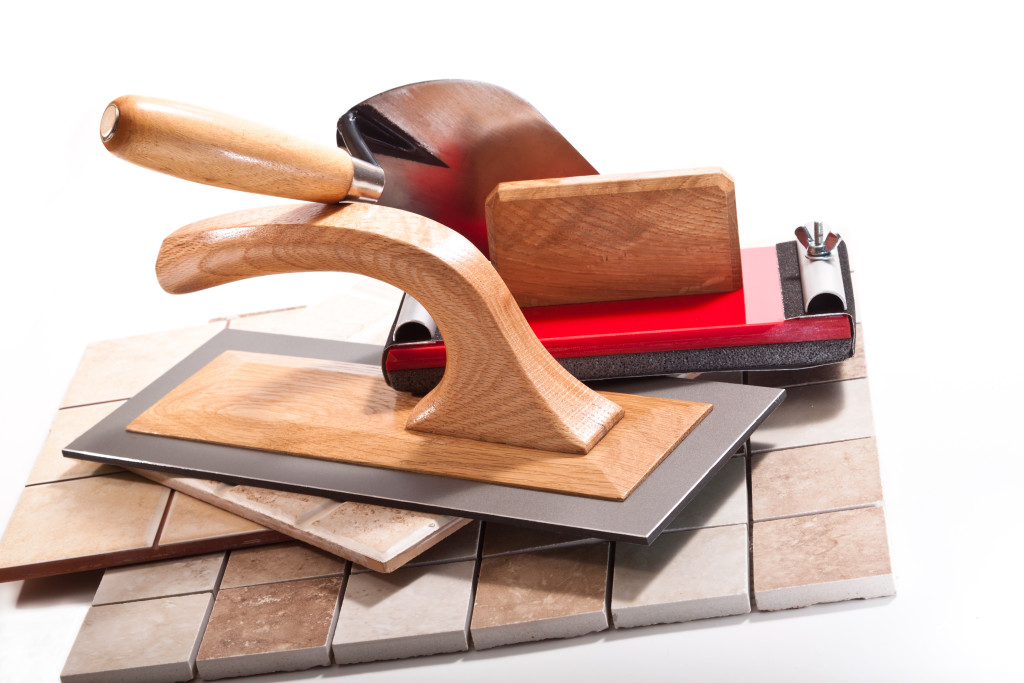
Here are the necessary tools and materials for DIY slate tile flooring installation:
- Wet tile saw
- Cement backer board
- Cement board screws
- Mortar
- Grout
- Grout sealant
- Tile spacers
- Line chalk
- Rubber mallet
- Notched trowel
- Tape measure
- T-square
- Goggles
- Work gloves
- Sponge
- Bucket.
Installing slate tile is not a quick and easy weekend project. In fact, most homeowners decide that it’s well worth it to hire professionals to do the job. However, if you’re especially handy and love a challenging home renovation project, this project is certainly something you can try to tackle on your own.
Resources:
https://www.builddirect.com/blog/top-10-slate-tile-installation-errors/
https://www.builddirect.com/Slate-Tile
https://dengarden.com/home-improvement/5-Steps-to-Calculating-How-Much-Tile-You-Need
https://homeguides.sfgate.com/install-grout-slate-tile-20572.html


