How to Replace a Carpet Tile
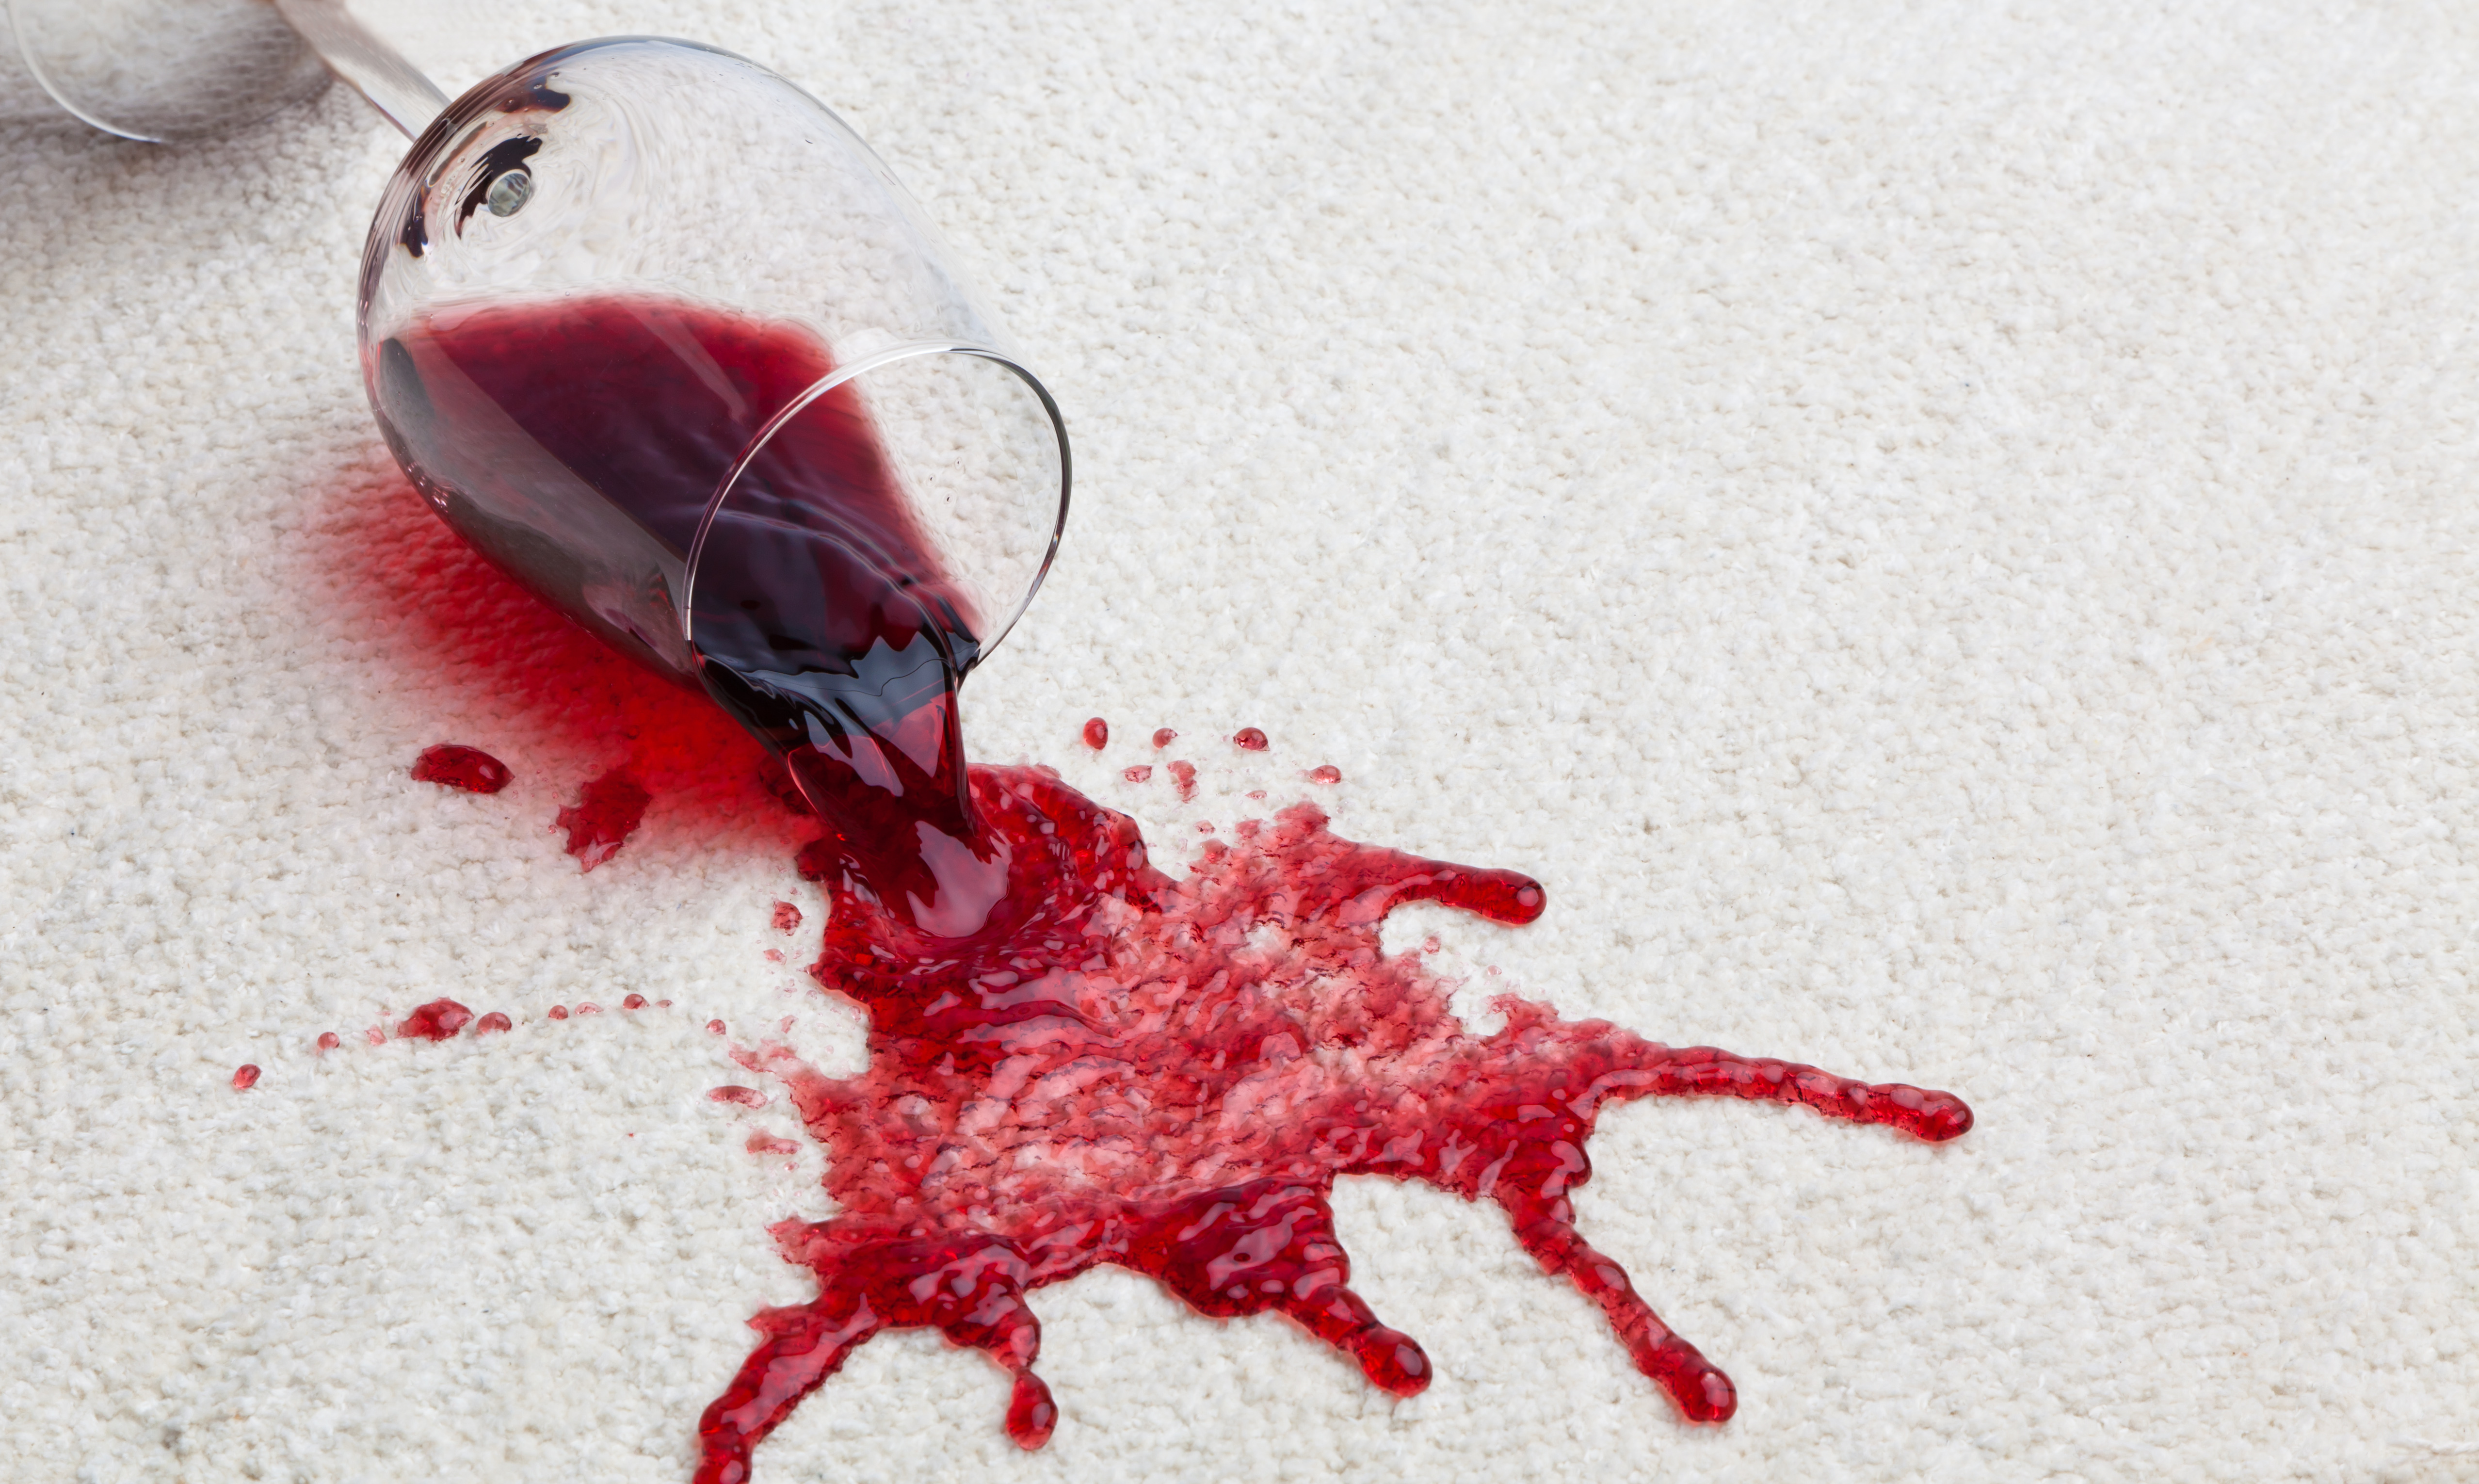
Many people are drawn to carpet tiles for their easy installation and affordable price. However, an unexpected perk is how easily you can fix a carpet tile floor if things go wrong. Should you spill your red wine or your dog has an accident, there’s no need to tear up your entire carpet. Simply replace the damaged carpet tile with a new one and enjoy a floor that looks good as new.
Acclimate Your Carpet Tile
While you can’t use your new carpet tile until your old one is removed, you can take steps to prepare it. Carpet tiles need to become used to the conditions in the room they’ll lay. Sit them in their intended home for 24 hours to acclimate them.
Clear the Area
If you’re using the room with your carpet tiles, it’s probably full of furniture. While you don’t need to completely clear the room to replace and remove just one tile, you should clear the space you want to work in for easy access. As you may need to use harsh chemicals to clean the floor beneath your old carpet tile, it’s a good idea to move furniture well away from your old tile as any accidental splashes could damage your pieces. It’s better to be safe than sorry, so you may want to move any valuable furniture into another room.
Remove Your Old Carpet Tile

Before you lay down a new carpet tile, you must remove the old one. New carpet tiles will often lift up with very little effort, while older tiles tend to be more stubborn, especially if they’re stuck down with glue.
This job can take a toll on your knees, so buy some protective pads to cushion the impact. You can find a pair at a skate shop or sporting goods store if you don’t have any already. This process can also be tough on your hands, so it is recommended that you put on a pair of work gloves before you start.
Attempt to pull up your carpet tile by its corner. If the tile is stuck firm, push a metal scraper or a putty knife between the tile and the floor to free it.
Remove the Glue (If Applicable)
Old carpet tiles fixed with adhesive commonly leave glue behind. As a rule, the older the carpet tile, the more the adhesive sticks. Removing this glue before laying down new tiles is important, so you’re working with a totally smooth foundation.
New carpet tiles typically leave behind just a little clear, sticky glue. You should be able to remove this with a blend of trisodium phosphate and warm water. Consult the chemical’s packet for the right solution.
Older carpet tiles often leave behind a lot of hard, stubborn adhesive. It might take time, but you should be able to remove the bulk of the glue with a floor scraper. Point the blade away from you and scrape at an angle for the most effective, safest results. While this process requires a firm hand, don’t be too aggressive or you could damage the concrete and break your scraper.
If you do damage the concrete, don’t panic. It’s true that carpet tiles should sit on a perfectly flat surface. You can fix any gouges and cracks you’ve made with concrete patch though. Let the filler dry overnight; then scrape away the excess with a putty knife to flatten the floor again.
Sweep away any loose particles, and then dissolve any remaining glue with carpet tile adhesive remover.
Carpet tile adhesive remover is very powerful, so take care using it. Tape across your baseboards and nearby tiles to prevent chemical damage. Wear eye goggles, chemical-resistant gloves, and a face mask for your own safety. Opening the windows will improve the room’s ventilation. Apply the substance to a 12-inch square with a sponge or paintbrush; then let it sit to work its magic. Once the glue softens, use a paint scraper to remove it. Dispose of the scrapings and sweep any small particles up.
Clean the Floor
Since you’ve already prepared your floor to lay down carpet tiles the first time, all they should need before you can lay a new tile down is a thorough clean.
A blend of trisodium phosphate and warm water, mixed according to the manufacturer’s instructions, is a more effective floor cleaner than anything you’ll find in the grocery store. Use a stiff scrubbing brush to scrub the solution into the floor. Use a squeegee to remove the solution on top of the floor, then a wet-dry vacuum to remove the rest of the liquid.
Some of the chemicals will still linger, so dilute them with a sponge soaked with plain, warm water. Keep sponging away until you’ve wiped up all the chemicals.
Replace the Carpet Tile
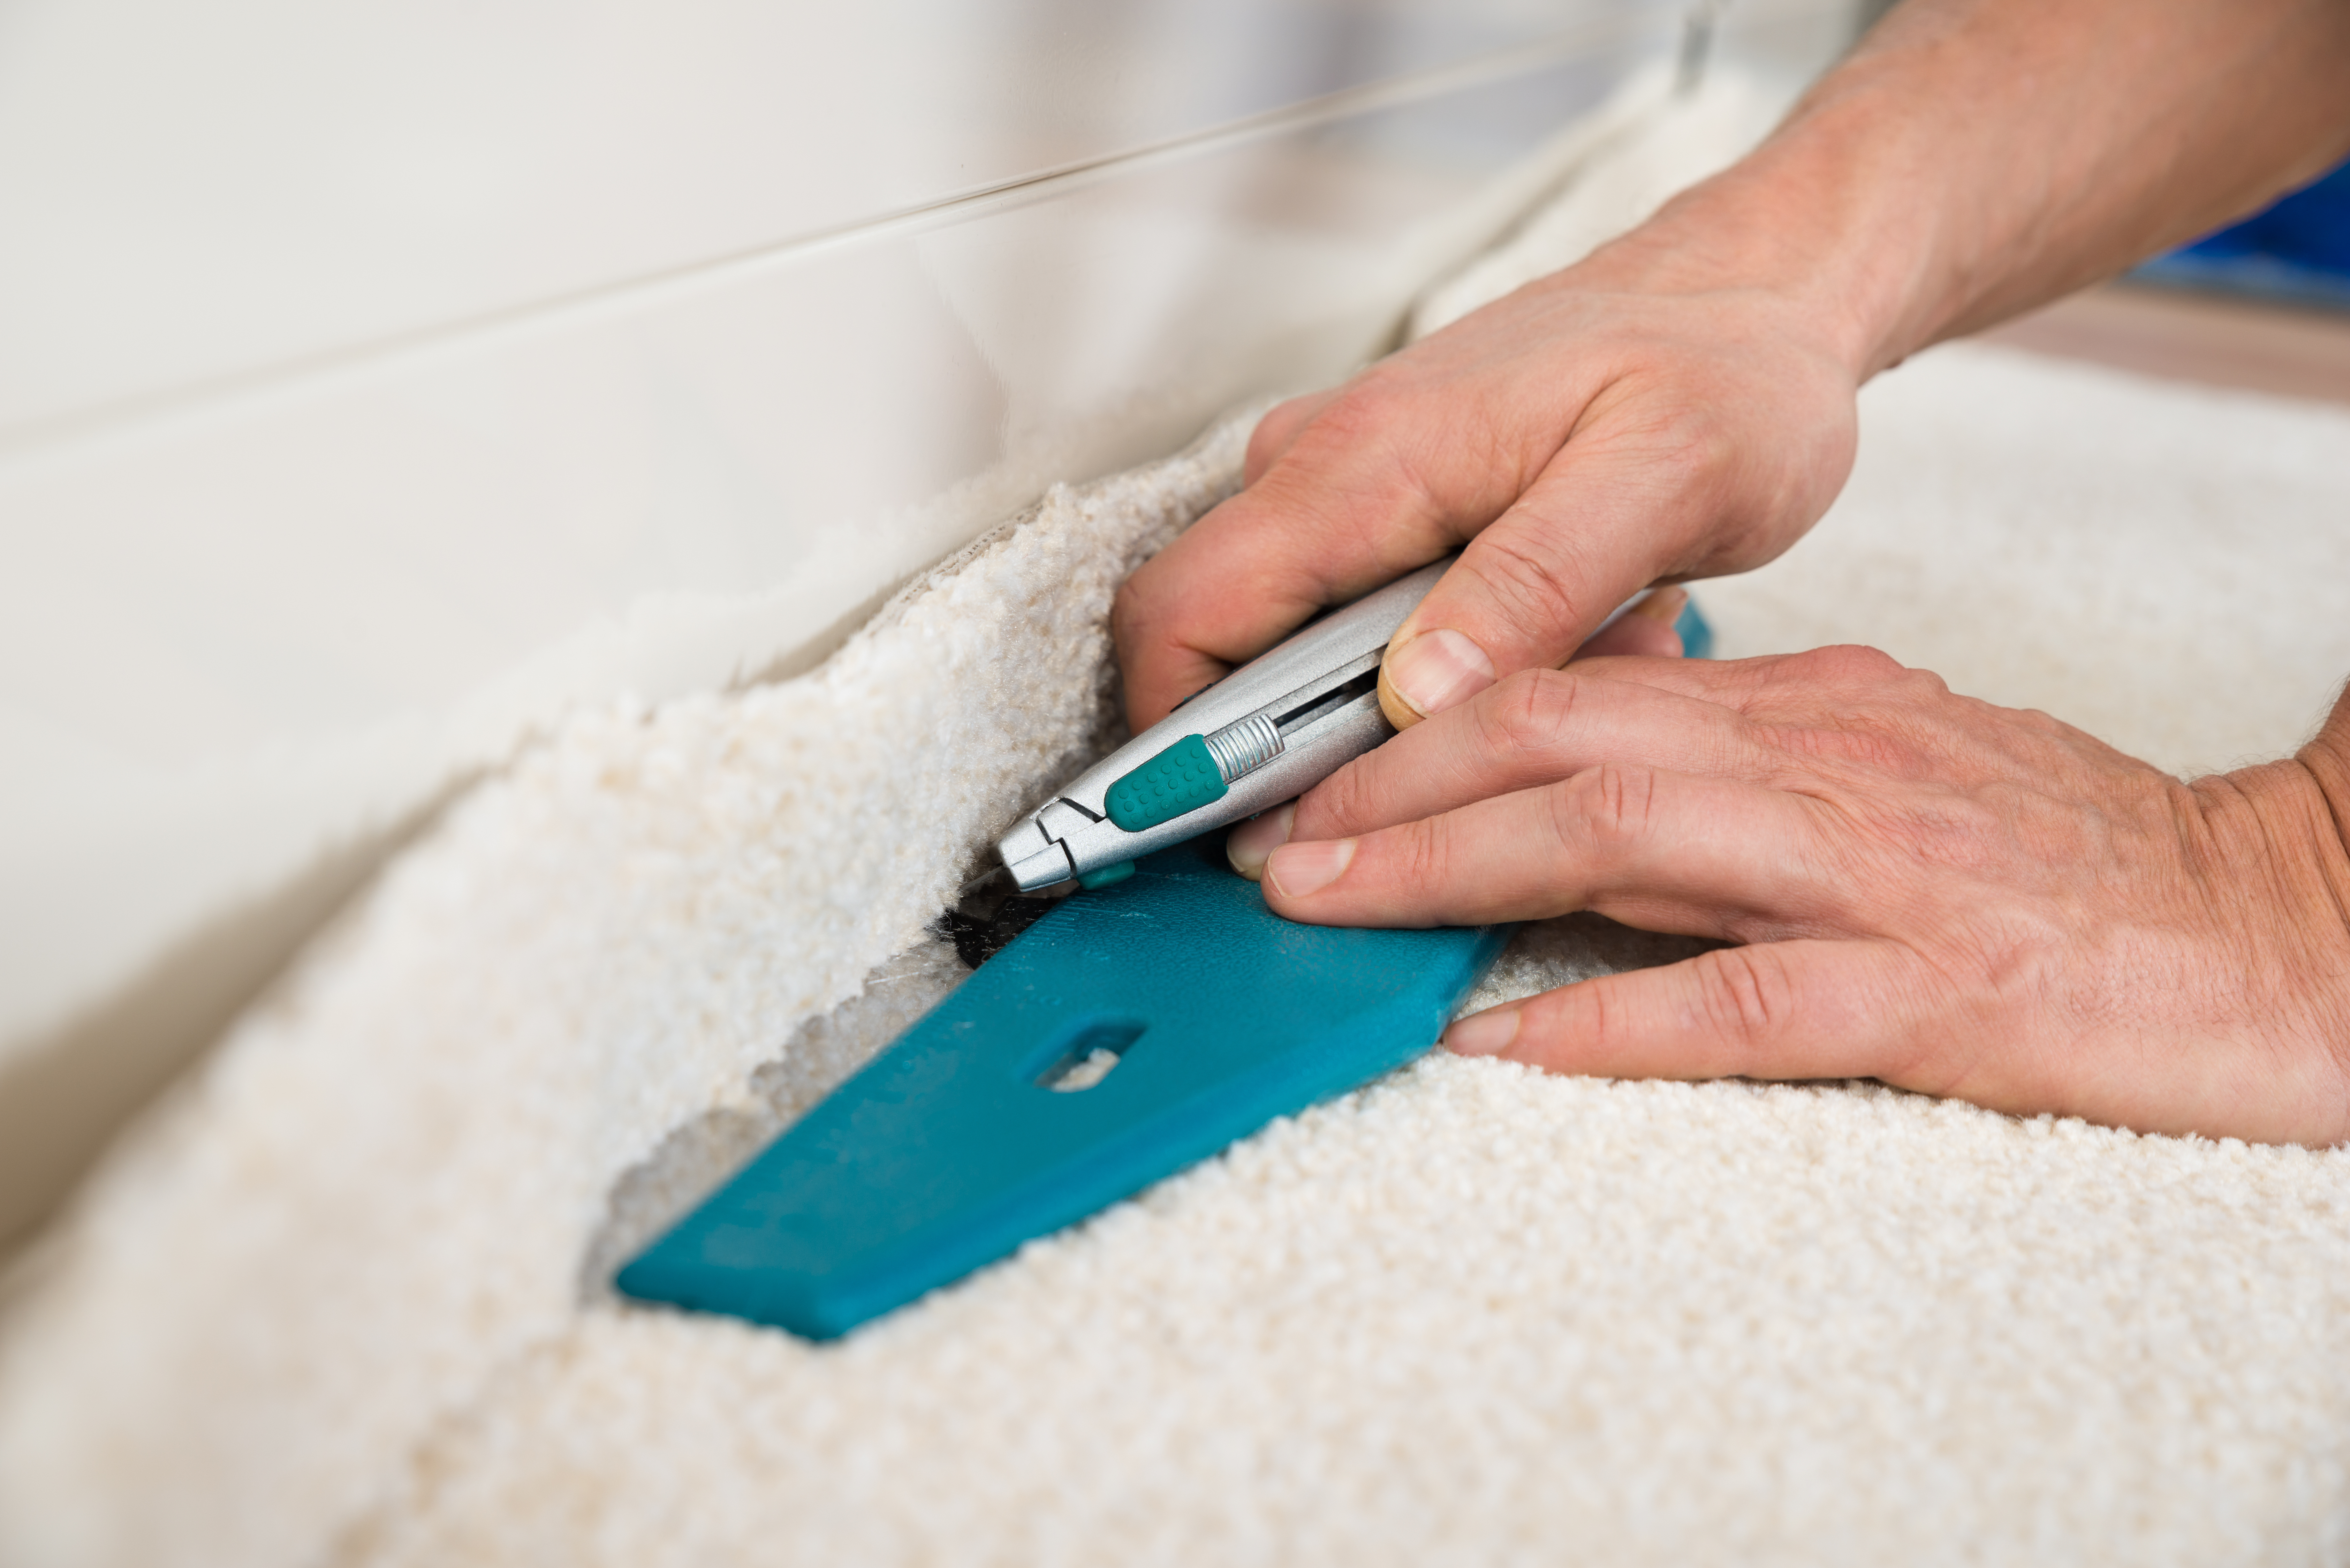
Once your carpet tile has acclimated for 24 hours, it’s ready to lay. If you’re using a carpet tile left over from your initial installation, it’s probably already the right size. If it’s a tile bought especially to patch your floor, or if you trimmed your original tiles, you may need to cut your carpet tile to fit. Measure the available space and use a utility knife against a straight edge for a precise cut.
Take note of your carpet tile’s pile. You’ll want it to match the other tiles in the room so the color and pattern looks consistent, or if you’ve been daring in your design, intentionally random. Many carpet tiles have an arrow on their back showing the pile’s direction, which you can use to help you out.
Some carpet tiles are self-adhesive. If you have these, simply remove the backing paper and lay the tile in place. Most don’t have their own adhesive, so you’ll need to apply a layer of adhesive or lay down double-sided carpet tape to make your tile stick.
While replacing a carpet tile requires a little effort, it’s much simpler and more cost effective than replacing a complete carpeted floor. Go through the process step-by-step to say goodbye to your stained and damaged carpet tiles.

Resources:
https://www.lifehacker.com.au/2011/06/how-to-lay-carpet-tiles/
http://homeguides.sfgate.com/remove-glued-down-carpet-tiles-concrete-20942.html