Granite Tile Installation: PRO or DIY?
If you want your home to look a little more luxurious, consider upgrading your floors with granite tile. It has an elegant appearance that makes any home look refined, yet it’s still incredible durable and resistant to stains and scratches. If you live in a warm climate, you’ll also appreciate that granite has a cooler feel underfoot compared to many other types of flooring.
Granite may have many great benefits, but it does tend to come with a higher price tag. As a result, some homeowners hope they can save some money on this upgrade by installing their own granite tile flooring. But do-it-yourself granite floor installation isn’t as easy as it looks. Therefore, it’s important to understand exactly what this project entails before you tackle it on your own. Consider the following factors when deciding whether to hire professionals to install your granite tile or turning it into your next DIY Project.
Do You Know How Much to Buy?
If you’re interested in installing your own granite tile, you’ll need to measure the space first to figure out how much to order. Split the space into rectangular units, and measure each area by multiplying the length by the width. Add up the resulting numbers to get your total square footage for the space.
Next, add a little extra onto your total square footage. This is the overage, which is basically extra tile that will help to account for the cuts and potential mistakes that may occur throughout the project. Generally, you’ll want to order about 10 percent extra tile on top of your total square footage. Therefore, if your room measured 120 square feet, you should order 132 square feet of granite tile.
Do You Know How to Prep the Floor?
Unfortunately, you can’t just lay the granite tile down on whatever existing floor you have. First, you need to prep the floor that will sit underneath your tile. Granite tile must be laid on a perfectly level floor; if there are any uneven spots, it could cause the tile to crack or break eventually. Use self-leveling concrete to even out low spots on the floor and fill any seams or cracks with caulk. Make sure the subfloor is carefully and thoroughly cleaned before you start the installation process.
One of the most important aspects of your subfloor is its strength. Granite tile is very heavy, so it needs to be able to support the weight of your new flooring. If the subfloor is weak, the tiles’ weight could cause structural damage over time. If your subfloor consists of just interior-grade plywood or particleboard, it’s probably not strong enough to support a granite tile floor.
Do You Know What Underlayment to Use?
As mentioned above, your granite tile flooring requires backer board underneath. You’ll apply this underlayment on top of the subfloor to provide the added strength necessary to support the heavy weight of the granite tiles. Backer board comes in a variety of thicknesses; you’ll need one that’s at least an inch thick to support your granite tile. This underlayment must be installed correctly with no screws protruding to prevent your granite from cracking or breaking over time.
Do You Know How to Install the Tiles?
Now that your subfloor is ready, you can start installing the tiles. You should have a clear plan in place before you start adhering anything, so lay out the tiles to see where you’ll need to make cuts for a snug fit. Use plastic spacers between the tiles so you get accurate measurements. Use the wet saw to cut your tiles in advance; this ensures you can keep working while the mortar is still wet as you lay the tiles down.
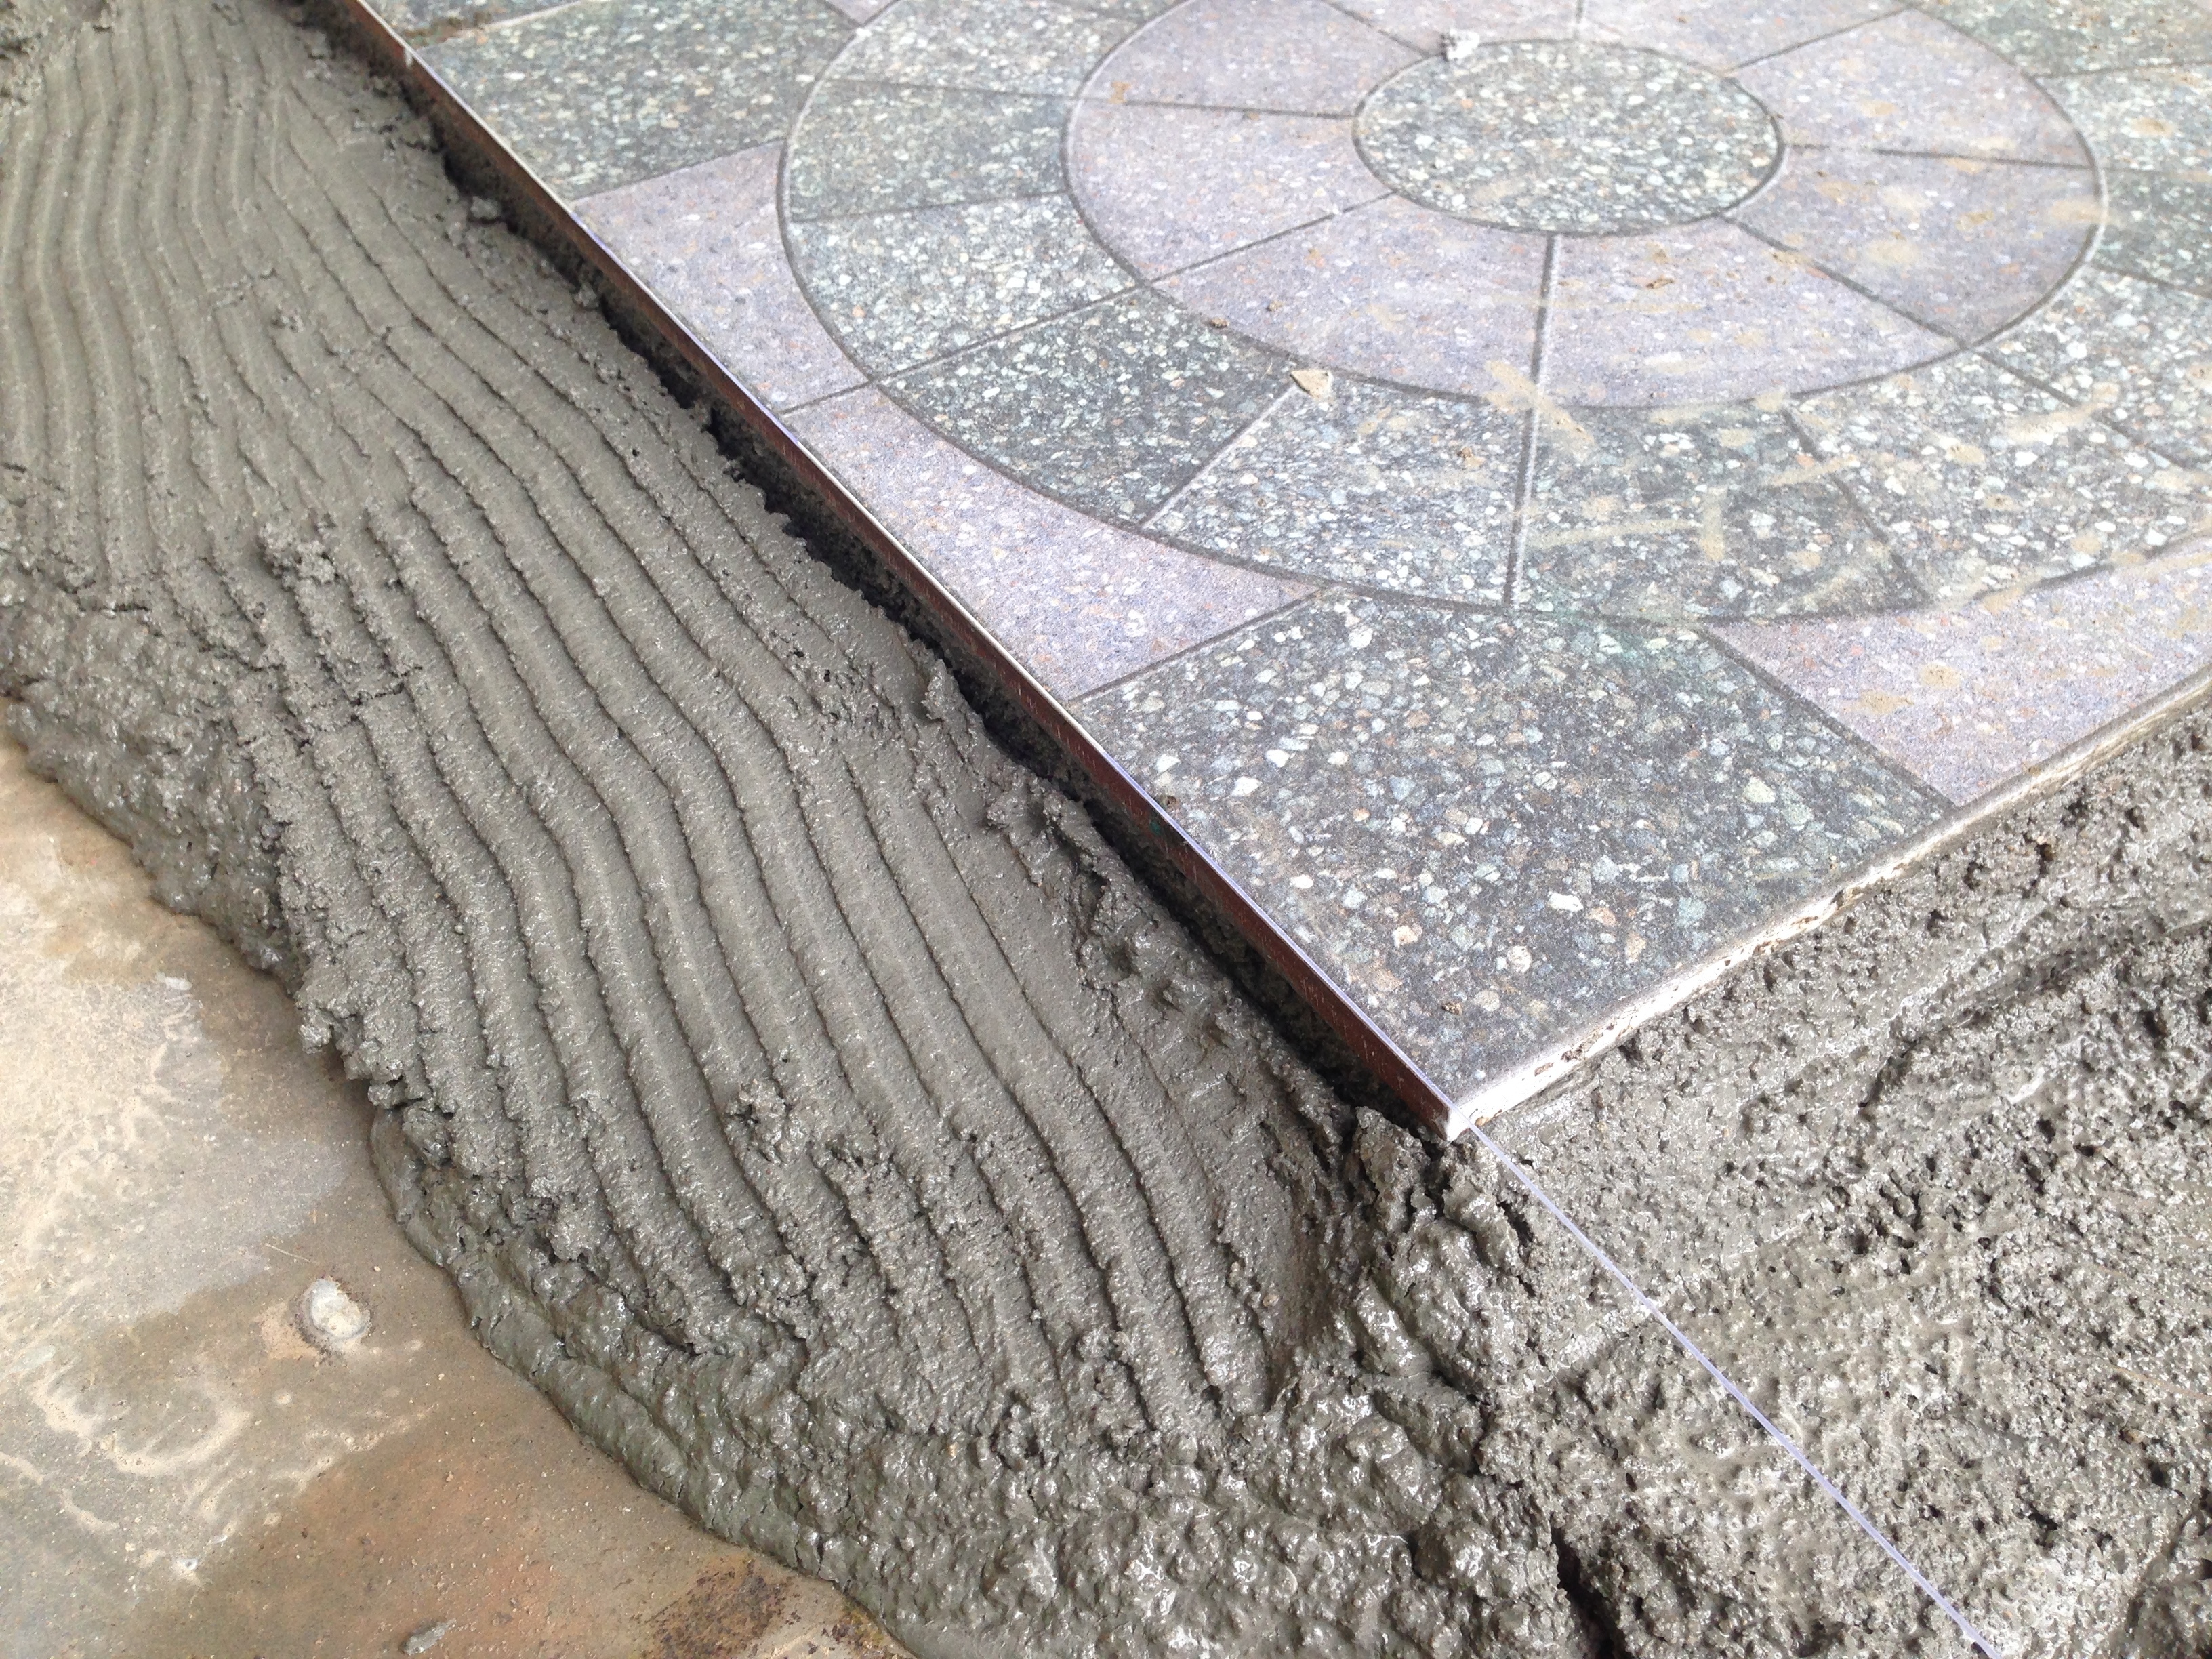
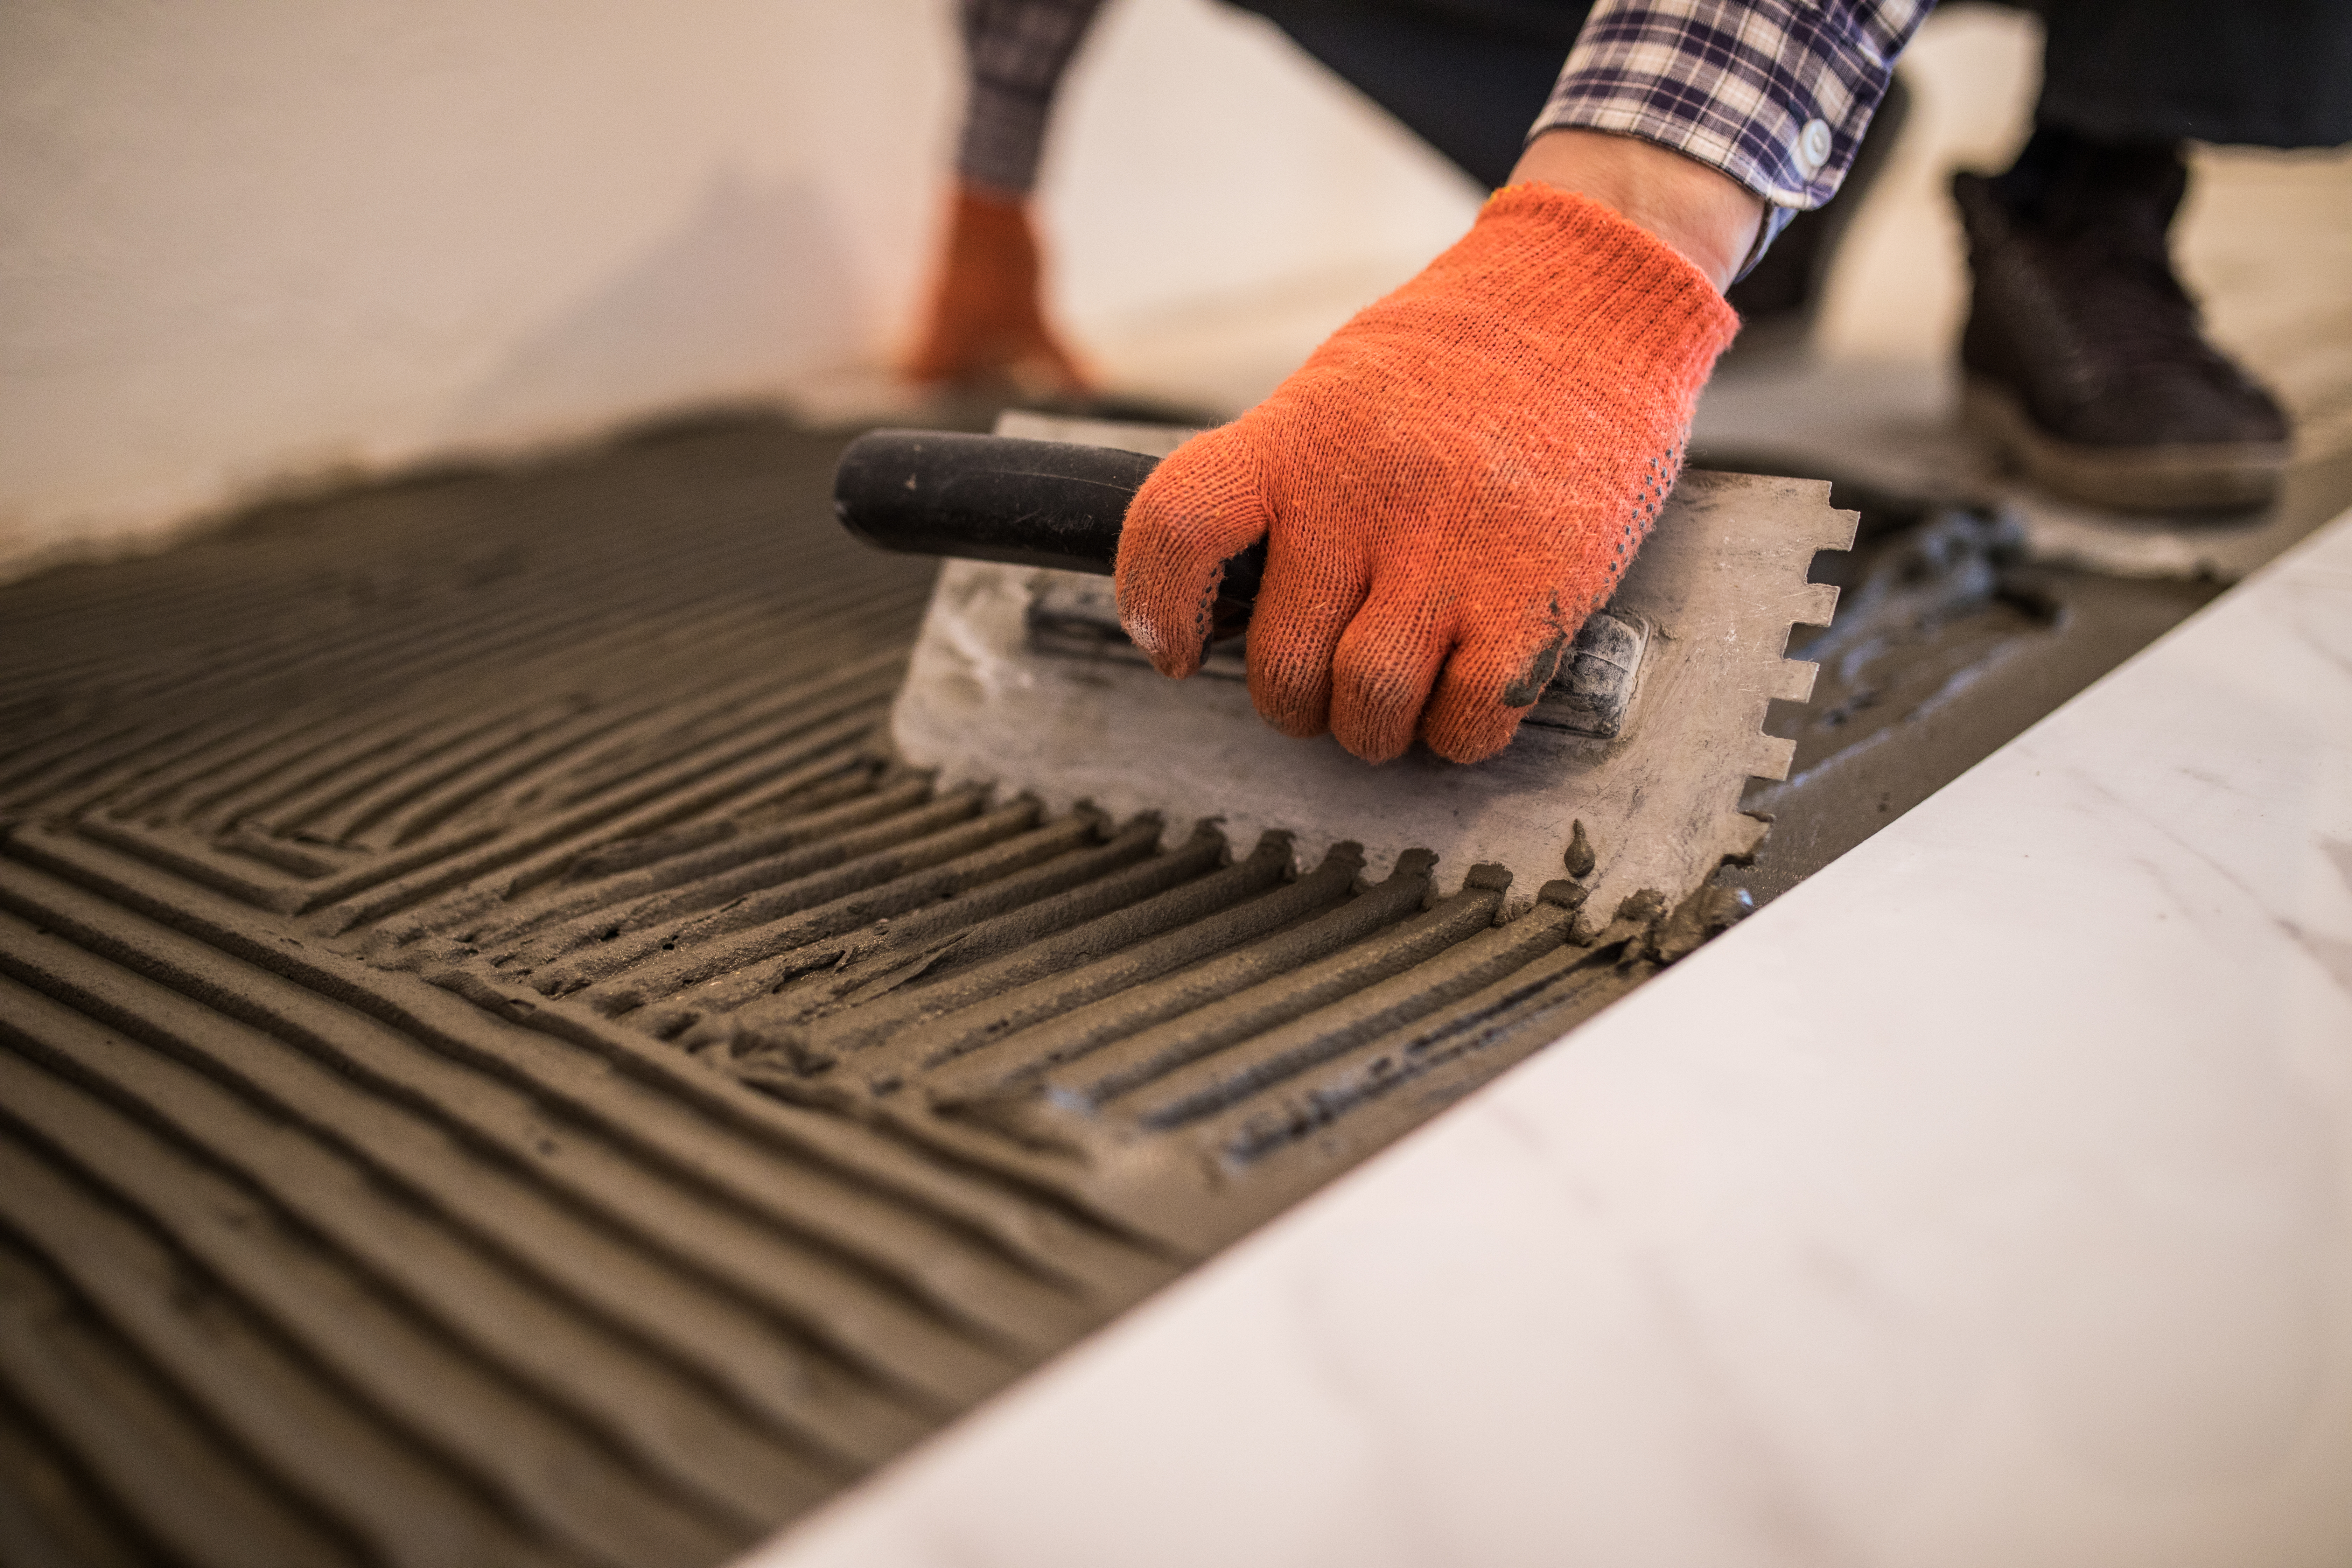
Prep the mortar by following the instructions on the bag. Your mixture should have a thin, mud-like consistency. Use a trowel to spread the mortar evenly in a thin layer. Lay a backer board over this layer of mortar and secure it with screws.
Start applying mortar on top of the backer board in small sections. As you spread the mortar, your trowel should be at a 45-degree angle to ensure consistency across your floor. Begin laying the tiles by setting one corner in place and slowly pressing down along the rest of the tile. Make sure you press down hard to get a secure bond with the mortar; then follow up by tapping it with a rubber mallet to release any air bubbles. Set the spacers in between each tile to make space for the grout.

Do You Know How to Seal and Grout the Tile?
Wait 24 hours after the tile has been laid; then start applying the grout. Spread it over the tile, being careful to push it into the cracks left by your spacers. Don’t forget to pull out the spacers as you go.
Wait 72 hours after applying; then grout and gently clean off the tiles with warm water and a sponge. Allow the grout to dry fully; then apply a grout sealer. This product will protect your grout from water and stains and make it easier to keep clean.
Do You Know How to Use Spacers?
If it’s your first time using spacers for a home renovation project, it helps to understand how they’re intended to work. These small plastic inserts are used with laying out tile to make sure there’s space in between to lay the grout. The grout is necessary for keeping straight lines in your layout and preventing damage from the tiles rubbing against one another.
Be sure you choose the correct spacer size for your project. Honed and polished granite is usually coupled with a spacer measuring 1/16 inch. For other granite tiles, use a 1/8-inch spacer.
Ultimately, granite tile flooring probably isn’t the right fit for you if you’re looking for an easy, cheap DIY project. The process is complicated, time-consuming, and expensive, so it’s best left to the pros in most cases. Since granite tile is a relatively expensive upgrade for your home, hiring professional installers ensures your investment will be better protected over time.
![]()
Resources:
https://www.builddirect.com/Granite-Tile
https://learning-center.builddirect.com/flooring/top-10-granite-tile-faqs/
https://dengarden.com/home-improvement/5-Steps-to-Calculating-How-Much-Tile-You-Need
https://www.doityourself.com/stry/installing-granite-flooring–everything-you-should-know
https://graniteunlimitedinc.com/importance-granite-underlayment/
https://homeguides.sfgate.com/use-spacers-installing-granite-floors-65965.html