How to Fix Gaps in Your Hardwood Flooring
|
|
Time to read 4 min
 Skip to content
|
|
Time to read 4 min
Hardwood floors are one of the most traditional types of flooring because of the natural beauty of the wood and the durability of the material. With time even the most expertly installed hardwood floors will start to gap. Not only can gaps deter from the appearance of the hardwood floors, but they can also trap dirt and make a home drafty. Slight gaps are normal, but if the gap is wide enough to fit the end of a nickel into, repairs are necessary. Here’s our guide on how to fix gaps in hardwood flooring.
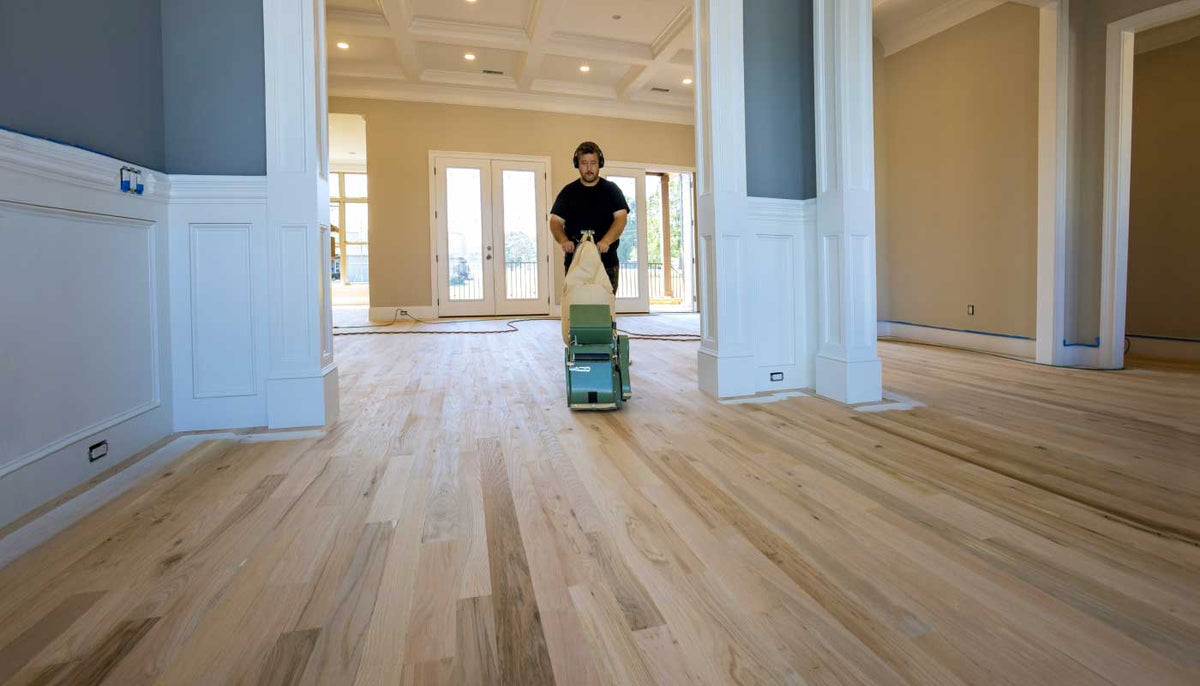
Any time wood floors are being refinished, an initial sanding is required. If the floors are heavily scratched, opt for a drum-style sander. These machines are easy to rent and work by cutting through the top layer of finish, smoothing the floor and getting rid of any scratches. If there isn’t much damage to the floors, an orbital sander makes a great option. This device lightly sands the floor, smoothing the surface without removing too much wood or causing thinning.
No matter which method of sanding you choose, make sure to use a shop vacuum to remove all sanding dust from crevices, ensuring the floor is clean and dust-free for the repair steps.
When they do occur, the first decision is whether or not to fix gaps in hardwood. All natural wood will expand in warm weather and contract in cold weather. Slight gaps that occur in the winter should not be repaired unless they are severe. Wait until the warmer months and see if the gaps still exist. If so, and they are bigger than the end of a nickel, it is time to repair them. Fortunately, there are some reliable methods for getting rid of those unsightly and drafty gaps without replacing the entire floor.
Supplies
For smaller cracks, wood putty makes a great option. The putty is easy to work into gaps using a traditional putty knife. Allow the putty to fully dry completely before moving on to sanding and finishing. Unlike the wood itself, putty does not contain a wood grain, so expect a slight variation of finish from the wood to the putty because of the difference.
Supplies
Start by painting the inside of the crack with some wood glue. Work a length of jute rope into the gap using a putty knife. Continue until the entire gap is filled with the jute rope, packed as firmly as possible. Using jute rope instead of wood putty can result in a more natural look but the rope does have a tendency to work its way loose over time. When that happens, use the putty knife and a little more wood glue to press the rope back into place.
Supplies
Using a table saw, rip strips of wood out of a spare piece of flooring, taking careful measurements of the length and the width of the gap being filled to ensure a tight fit. Using a rubber mallet, work the wood strip into the gap, using wood glue to secure the strip in place. This method should only be completed by someone experienced with a table saw, as cutting small strips can be difficult and dangerous if not done properly.
Tip: When you are installing hardwood floors in a room, make sure to keep a few spare wood planks on hand for repairs down the road. Wood floors can be hard to match, especially many years later. Keeping extra at the initial installation will save headaches later on.
No matter which repair method you choose, a few finishing steps are necessary to restore the hardwood floor to its original beauty. First, sand the area or areas patched to make sure they are smooth with the surrounding floor boards. Vacuum and wipe clean any dust and debris from the process, allowing the wood floors to dry completely before moving on to the next step. Once they are dry, stain the area or the entire floor, depending on how severe the repairs were. The areas that are filled with strips, rope, or wood putty. Sometimes, the wood floors and the filler material will accept stain at different rates. When this happens, re-apply the stain where needed until the entire floor is a consistent color.
Repairing gaps in hardwood floors is an easy process that can be done with the help of a couple standard tools and supplies from the local hardware store. Take a free weekend and fix gaps in hardwood floors, give the area a fresh finish, and fall back in love with this traditional flooring option. Does your hardwood floor have other damage? Check out guides on how to fix buckling floors and how to replace damaged areas of hardwood floors as well. With a little maintenance, hardwood floors can be a sophisticated and long-lasting choice for any home.


