How to Lay a Diagonal Floor Tile Pattern
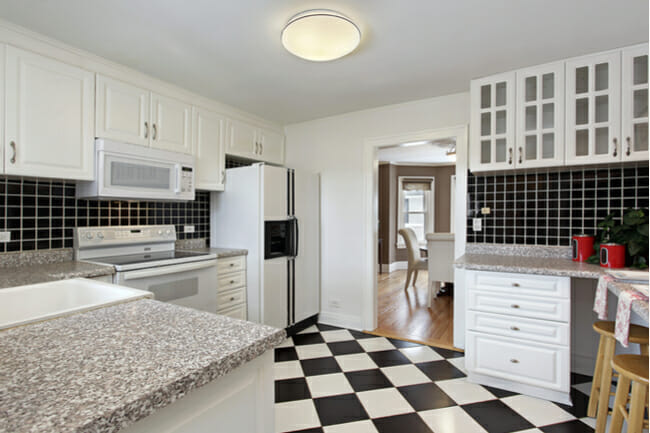
Most tiled floors feature tiles that are installed square with the room. While this often looks neat and clean, it can make small spaces look even tinier, and this style doesn’t add much visual intrigue. If you want to take your floor to the next level, however, try installing tile diagonally. Not only will this layout make your floor pop, but it might even make the room appear bigger, too. Learn how to lay diagonal floor tile in eight straightforward steps.
Pre-Installation Prep
Choose Your Floor Tiles
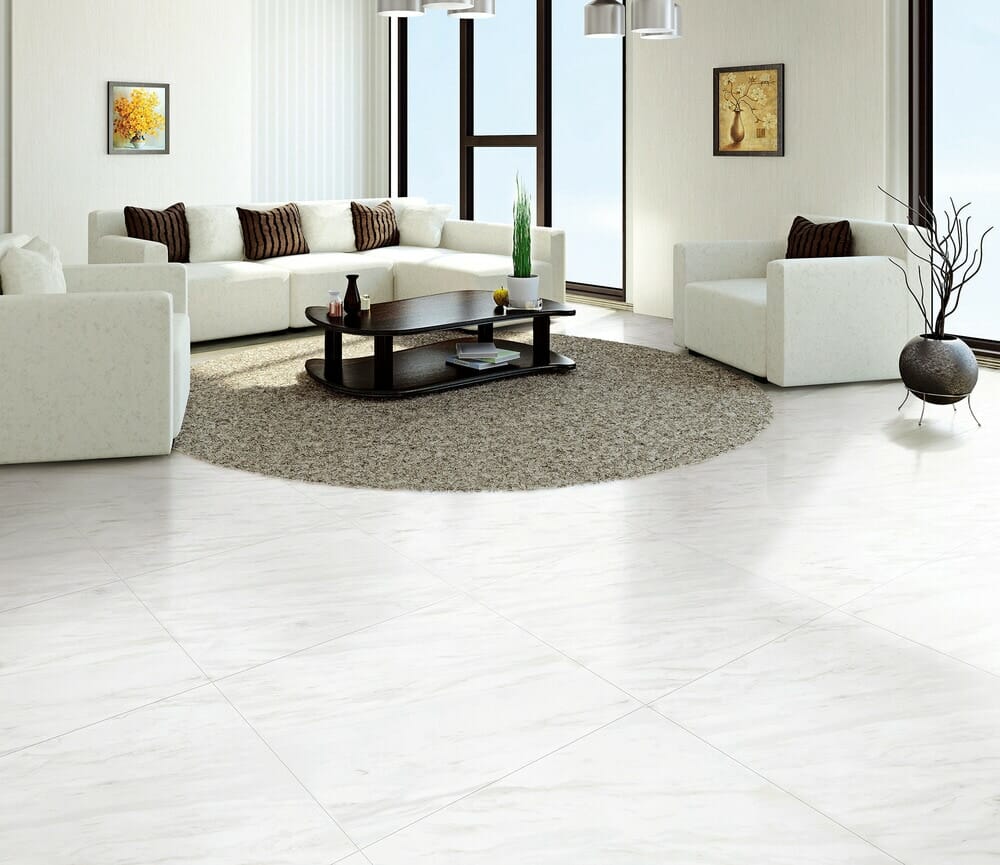
Kick off this mini renovation project by choosing your new floor tiles. For this type of project, you’re going to want to choose square tiles, so skip the rectangles, hexagons, and other shapes.
That’s really your only restriction, though. You can pick out porcelain or ceramic floor tiles in a variety of colors, finishes, and textures. Just keep in mind that porcelain tile tends to be harder and more durable than ceramic tile. If you’re installing this flooring in a relatively high-traffic area, such as your home’s main bathroom, consider opting for porcelain in your choice of finishes.
When you’re estimating the amount of tile you’ll need for this project, add about 10 percent more tile to your cart. You’ll end up wasting at least a couple of tiles over the course of this project, and you may want to keep a couple more tiles on hand for future repairs.
Gather Your Tools and Supplies
As long as you have a weekend to work with and a few tools and supplies on hand, laying diagonal floor tile is a DIY project that you can easily take on. Here’s what you’ll need for this project:
- Tiles
- Tile spacers
- Tape measure
- Speed square
- Pencil
- Wet saw
- Notched trowel
- Thinset
- Rubber mallet
- Grout mix
- Grout float
- Grout and tile sealer
- Cement backer board
- Sponge
- Safety goggles
When you’re stocking up on supplies for this project, don’t forget to add a pair of kneepads to your shopping cart. Tiling requires you to crawl around for hours at a time, so you’ll definitely want to protect your knees.
Prepare Your Workspace
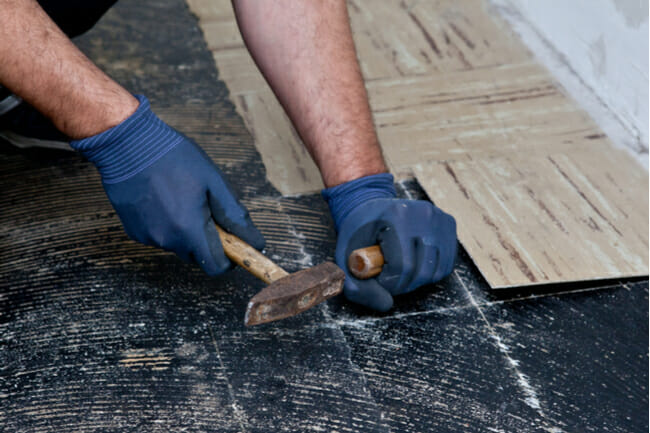
If you’re replacing existing tile or another type of flooring, you’ll need to remove it completely, leaving only the subfloor. Since tile is much heavier than other types of flooring, you’ll need to add an extra supportive layer on top of the subfloor. This is especially true if the subfloor is wooden. Follow the manufacturer’s instructions to secure the cement backer board into place, and then you’ll be ready to tile.
How to Install a Diagonal Tile Pattern
1. Make Your Mark
Get started by putting the first tile in place. You’ll want to start in a corner of the room where two walls make a 90-degree angle. Place one of the tiles flat in the corner, so that two of its corners almost touch the two corner walls. Double check the tile’s placement with the speed square, which will confirm that it’s positioned at a 45-degree angle.
Mark the first tile’s placement with a pencil, and use that as the starting point for the rest of your design. Use the speed square and the tape measure to ensure that all other tiles are positioned at 45-degree angles and that each row of tiles is parallel to the next.
2. Cut the Tiles
While most of your tiles won’t need adjustments, you’ll need to trim at least a few tiles so they’ll fit along the walls or in the corners. If you’ve never used a wet saw before, cutting tile can be a little intimidating. You’ve got this, though. Put on a pair of safety goggles to protect your eyes, use the square tool to position each tile correctly, and cut your tiles in half to form triangles. Put the cut tiles in place to make sure they fit into the floor design.
3. Set the Tiles
Follow the manufacturer’s directions to mix the thinset, and then use a notched trowel to apply this adhesive material to the floor. Make sure you don’t cover any pencil lines you’ve made, as you’ll still want to follow the design. Also, keep in mind that you need enough thinset to keep the tiles in place but not so much that your floor is covered in excess adhesive. Check the manufacturer’s directions for recommended thinset application techniques.
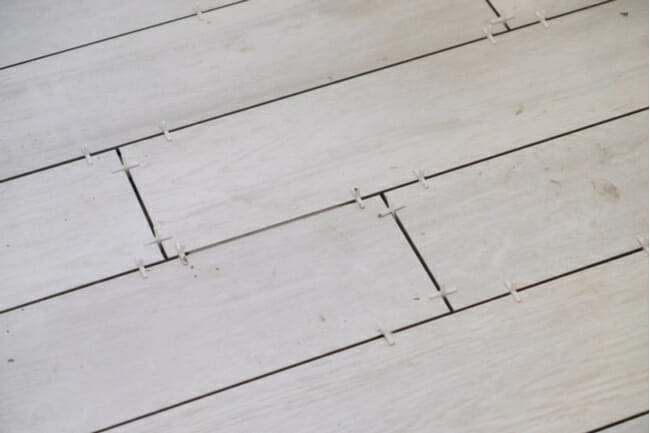
Thinset dries relatively quickly, so take care to apply only enough for a couple of tiles at a time. Set each tile on top of the wet thinset according to the design you mapped out, and use spacers in between each tile. Keep up the cycle of applying thinset, setting tiles, and putting spacers in place until you’ve completed the design.
As you go, use the rubber mallet to tap each tile gently into place at a consistent height. Try not to walk, kneel, or put pressure on the tiles after you’ve set them. Once you’re done, step away and let the thinset dry for at least 24 hours.
4. Apply the Grout
Once this thinset has dried, you can remove the spacers and apply the grout in between each tile. Since grout dries very quickly, you’ll need to make several small batches. It’s easiest to apply grout with a grout float, which can both force the material in between the tiles and keep the faces of the tiles relatively clean.
You can clean up any excess grout on the tiles as you go. Just use a damp sponge to wipe it away. Take care not to walk or kneel on the grout until it’s completely dry, though.
5. Let the Grout Cure
Grout can take a day or longer to cure completely, so check the manufacturer’s directions to make sure you give it plenty of time. Once it’s cured, your gorgeous diagonal tile floor is ready for use.
Step back, take it all in, and admire your handiwork. Now that you see how well this tile floor turned out, you might even get inspired to try a few other creative tile projects in other rooms of the house.
Resources:
https://www.builddirect.com/Ceramic-Porcelain-Tile
https://www.builddirect.com/blog/12-ways-to-use-tile-creatively-in-your-home/

