Marble Tile Installation: PRO or DIY?
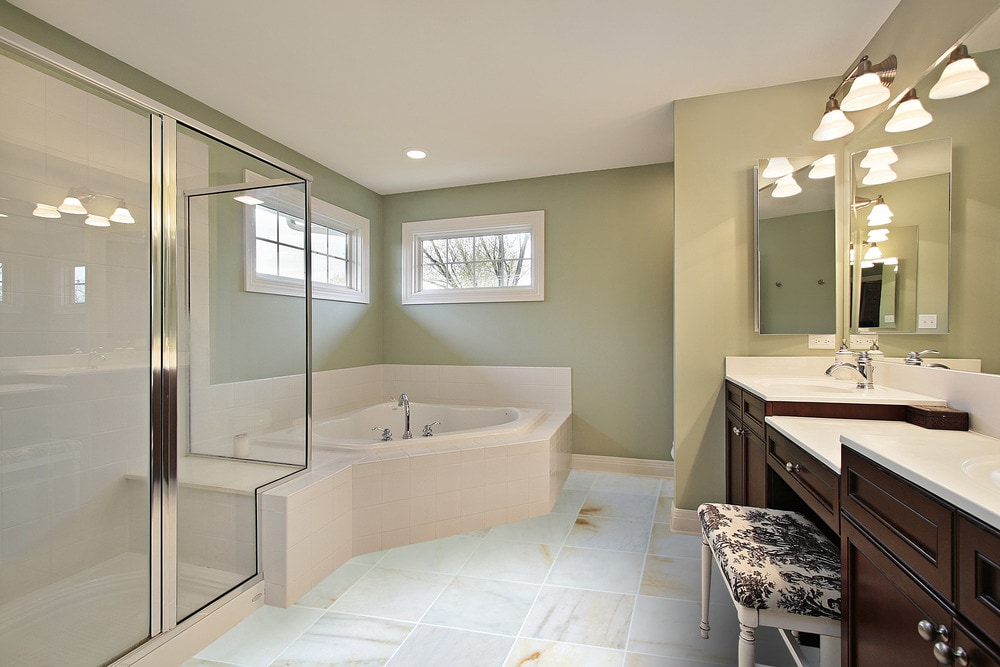
Want to make your home look like a million bucks? Consider installing marble tile floors. This type of tile has an undeniably luxurious look that includes a high-gloss surface. The distinctive patterns and colors can vary widely, allowing you to find one that’s a perfect fit for your style.
Unfortunately, the regal look of marble tile is matched by a relatively high price point. For that reason, some homeowners decide to pursue a DIY project with their marble flooring to save on the installation costs. But is marble tile a good choice for do-it-yourself flooring installation? It depends on how much time and effort you’re willing to spend on the highly detailed process of installing marble. Here’s what you need to consider when deciding whether it’s worth it to hire professionals to get the job done.
Do You Know How Much to Buy?
The first step in this DIY project is figuring out how much marble tile to order. To do this, you’ll need to measure all the floor space you intend to cover. If it’s a simple rectangular room, just multiply the length by the width in feet to get your total square footage. Otherwise, you’ll need to break the space up into rectangular segments, get the square footage of each segment, and then add those numbers together.
Once you have your total square footage, you need to add overage to account for any cuts or potential mistakes. Generally, you should order about 10 percent more tile than your square footage calls for. For example, if your space measures 140 square feet, you should order at least 154 square feet of tile.
Usually, tile is sold by the box. Each box should be labeled with the total square footage of tile inside. Using the example above, let’s say your chosen marble tile comes in boxes of 20 square feet each. Therefore, you should round up your square footage to 160 square feet and order eight boxes of tile.
Do You Know How to Prepare the Subfloor?
Getting your subfloor in good condition is an essential step in DIY marble tile flooring installation. A flat, supportive subfloor is critical for helping to prevent cracks or breaks in your tiles over time. In addition, you need a strong subfloor to support the weight of the marble itself.
First, make sure the existing subfloor is completely clean, dry, and even. You may need to use caulk or self-leveling concrete to fill in any low spots or cracks. If your subfloor is made of wood, you’ll also need to install cement backer board. This adds extra strength and moisture-resistance, both of which are necessary if you plan to have a marble floor. It will also bond better with the mortar you use to adhere your tiles.
To install cement backer board, spread a thin, even layer of mortar over your wood subfloor using a ¼-inch notched trowel. Lay the backer board down carefully over the wet mortar; then secure them in place with cement board screws. There should be about 1/8 inch of space between the backer board panels and where the board meets the walls.
Cover the seams between panels with cement board joint tape. Apply a thin layer of mortar over the tape and allow it to dry. Ensure the reinforced subfloor is completely flat and smooth before you proceed.
Do You Know How to Mix and Spread Mortar?
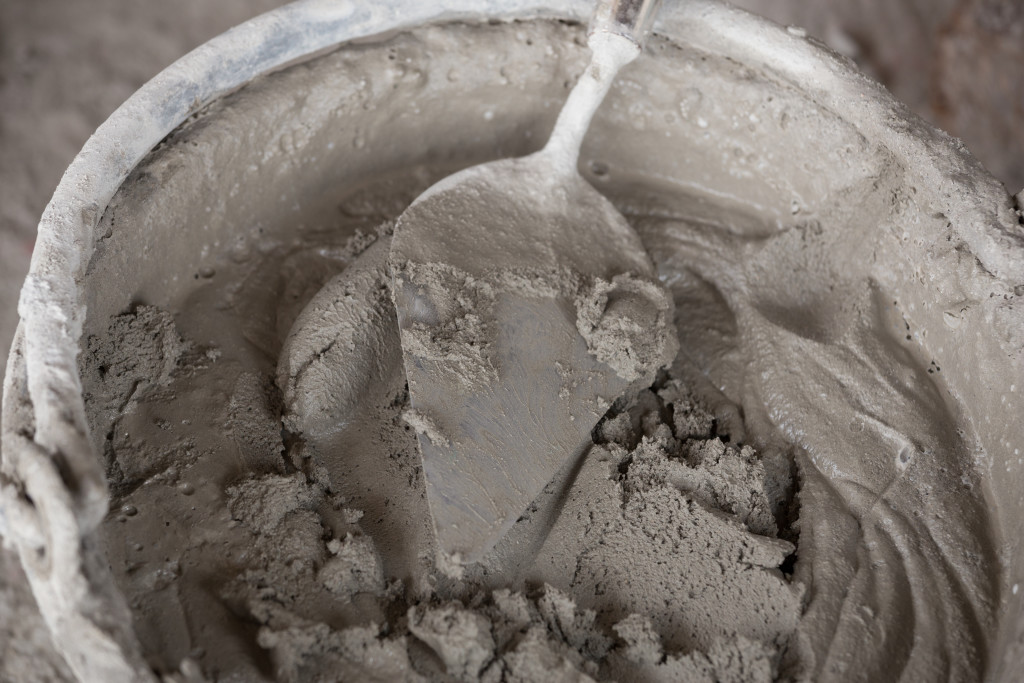
You’ll need to use thin-set mortar to install your marble tiles and, if necessary, the backer board mentioned above. Following the instructions on the bag, mix the mortar in small batches as you go. The mixture shouldn’t be too thick; aim for the texture of slick mud rather than a paste.
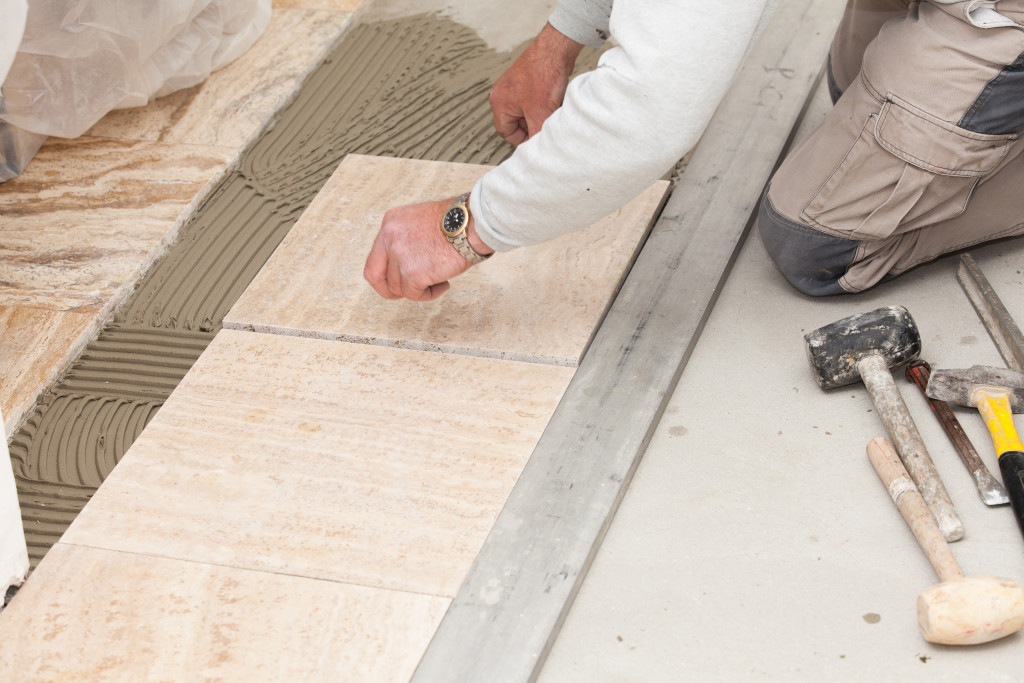
Once the mortar is mixed, spread it in a thin, even layer over a small section of the floor. For tiles that are 12-inch square or smaller, use a ¼-inch notched trowel to spread the mortar. For larger tiles or those with an irregular surface, use a ½-inch notched trowel instead.
Can You Lay the Tiles Carefully and Patiently?
You need to work quickly but carefully to set the marble tiles in place while the mortar is still wet. Align one edge in the correct position; then slowly press the tile into place. Twist slightly as you press to ensure it bonds securely with the mortar. Next, lightly tap the tile with a rubber mallet. This helps to ensure complete contact with the mortar and remove air bubbles under the tile.
Use tile spacers in between each tile to maintain consistent gaps as you continue with the installation. As you go, stop after every few tiles and place a straight edge across the tiles to make sure they are at the same height.
One of the most difficult parts of the process will be cutting any marble tiles you have. You need to use a wet saw to do this. Marble is delicate and can crack easily, so make your cuts very slowly and carefully. Your tile supplier may also be able to make cuts for you, but most DIYers rent a wet saw for this purpose.
Allow your marble tiles to set for 24 hours. Then, you can begin the grouting process. Mix it in small batches like you did with the mortar, applying the grout in small sections across the tile. Be sure to push plenty of grout into each of the gaps between the tiles. Wipe up the excess grout and allow it to dry completely. Then, apply a grout sealant to the surface.
For the most part, marble tile is manageable to install, but if you want it done well, a professional might be the best option for your home. It’s a very time-consuming and detail-oriented project with many steps, so take that into account when weighing the costs and benefits of hiring professionals. However, if you’re experienced with home improvement projects and are excited about the challenge of installing your own flooring, this DIY project may be a great fit for you.
Resources:
https://learning-center.builddirect.com/flooring/cost-considerations-with-marble-tile/
https://learning-center.builddirect.com/flooring/where-to-install-marble-tile/
https://dengarden.com/home-improvement/5-Steps-to-Calculating-How-Much-Tile-You-Need
https://www.thespruce.com/how-to-install-marble-floor-tiles-1314978


