Tips for Installing Limestone Tile
Limestone tiles have a chic, earthy appearance and functionality homeowners love. They’re tough enough to withstand heavy foot traffic, but smooth and forgiving to walk on. They’re also some of the most affordable natural stone tiles available. Installing your own limestone tiles makes home improvement projects more cost effective. We break down the process into the following steps for a professional-looking limestone-tiled floor.
Measure the Floor and Prepare the Room
Measuring the floor’s surface area is the first step for any floor tiling job so that you know how many limestone tiles you’ll need. Measure the room’s length and width. Multiplying these two measurements provides the total surface area.
Even the best tiler isn’t perfect. Adding a 10 percent buffer to your calculated surface area should provide enough tiles for a few bad cuts.
Once you have the right amount of limestone tiles, prepare your room for tiling. Remove any furniture, personal items, and existing flooring.
Concrete subfloors provide the ideal surface for limestone tiles. If your room has a wooden subfloor, add a concrete board before tiling. Cover the floor with thin-set adhesive before laying the board. Fill its holes with screws to penetrate the wooden subfloor and hold everything in place.
Lay Out the Tiles Dry
Limestone tiles vary in color and finish. Laying out your tiles on your floor before installation lets you create the most pleasing finish. Give tiles with beautiful colors and interesting marks or fossils a prominent place near the center of your floor. Any tiles you aren’t enamored with can move near the edges where they’ll be less noticeable. Look for tiles that seem like they naturally go together, with similar shades blending into one another. Play with your configuration on the floor until the tiles look right.
Spread the Adhesive
Your tile adhesive has several important jobs. It adheres your limestone tiles, of course, but also absorbs movement between the substrate and tiles and protects the substrate from water damage. With many important jobs to do, it’s important to spread your tile adhesive right.
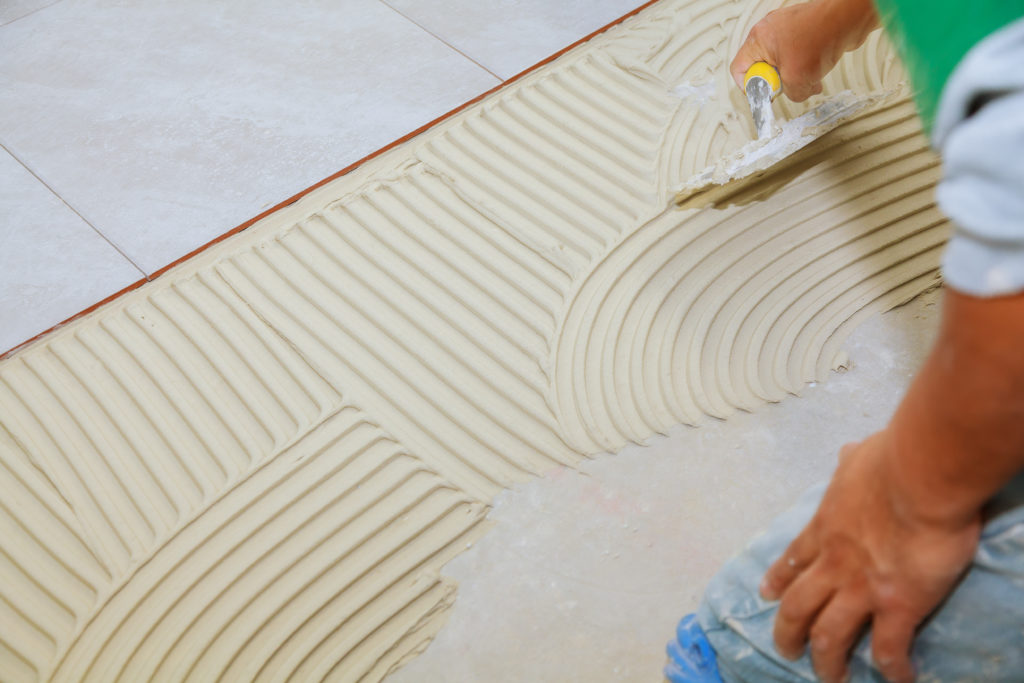
A trowel is the best tool for applying tile adhesive. Notched trowels are usually used, since they help you spread an even glue layer with ribs for adjusting each tile’s height. A 10-by-10-by-10-millimeter notched trowel is best for floors. Spread out the glue to a depth between 3 and 6 millimeters. If your tiles are quite large or have large studs or ribs on their backs, you may want to apply extra tile glue on their backs to help them stick.
Which Row Should You Start With?
It may make sense to start installing tiles from one end of the room and work toward the other, but experts recommend starting in the middle. This approach minimizes your risk of having unsightly, uneven edges. Use a chalk line and snap it in the center of both directions to find the middle of the room. Start your first row against the wall farthest from the room’s main entryway.
Pick up your tiles from the center of the room in the opposite order you placed them so that you can easily return them to the floor in sequence. Set them aside while you prepare your adhesive.
Use a trowel to spread a little latex additive thin-set mortar on the chalk line and place your first limestone tile firmly onto the adhesive. Unless your limestone tiles are very dark, use white mortar to prevent staining. Set your tile at a slight angle and twist it into place for even glue coverage. Put a tile spacer down against the tile’s edge that isn’t against the wall and add your next tile beside it. Tile spacers ensure your tiles are spaced evenly throughout the room. Continue the process until you’ve completed your first row.
Lay the Tiles
When you’ve spread the adhesive, lay your tiles using the same method as you did laying the first row. Use a rubber mallet to secure the tiles after every few rows, making sure all the edges are flat and at an even height.
Once you’ve finished laying the tiles, let the mortar dry completely for at least 24 hours. You can paint your tiles with a stone sealant. Limestone tiles are naturally porous, but the sealant will help them resist staining from grout and anything you may spill on your tiles later. Use a foam paintbrush to apply the sealant. Allow 10 minutes for it to soak into the tiles before wiping away the excess sealant with a soft cloth.
Use a grout float or trowel to add grout. Choose white grout unless your limestone tiles are very dark. While the sealant protects the tiles slightly, gray grout can stain your limestone tiles. Hold your grout tool at a 45-degree angle to get enough grout between your tiles. Use the tool’s edge to remove the excess.
Let the grout set for 10 minutes. Use a damp grout sponge to clean your tiles and smooth out the grout lines. Sponge in a circular motion for the best results. Since limestone tiles are prone to staining, rinse your sponge often to make sure they effectively clean your tiles.
Let your grout dry overnight. Make sure your floor is completely dry before walking on it.
Limestone tiles are a smart choice for floors, walls, countertops, and other areas in your home. While the methods of installing limestone tiles in different areas vary slightly, many of the same principles apply.
Cut the Tiles With a Wet Saw
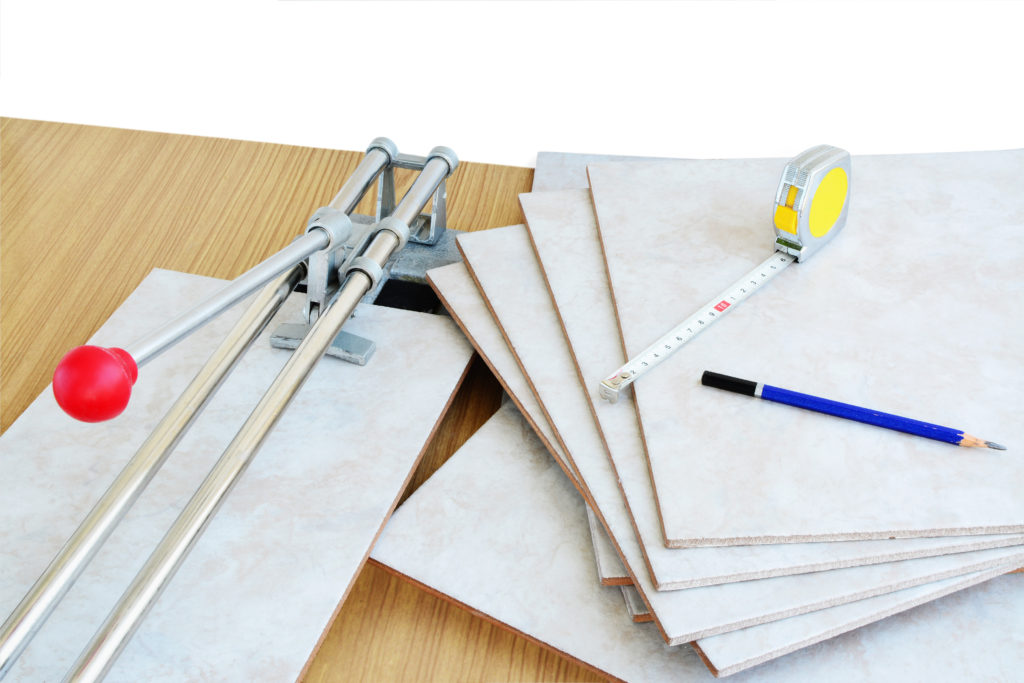
Cutting tiles can be a little scary at first, but it’s essential for working close to walls, cabinets, and other features. Measure how large your tile should be. Use a wet saw, sometimes called a diamond wheel tile cutter, to make your cuts. Limestone tiles emit dust and small particles when they’re cut, so work outdoors wearing a safety mask, goggles, heavy gloves, and thick clothes to protect yourself.
Push each tile against the saw’s blade with a smooth, slow motion. Saw blades are sharp, so keep your hands clear of the blades. Lay your cut tiles to make sure they fit neatly before applying adhesive.
Resources:
http://www.ultimatehandyman.co.uk/how-to/specific-tiling-advice/limestone-tile-fitting
http://www.ultimatehandyman.co.uk/how-to/tiling-tools/wet-tile-saw
https://homeguides.sfgate.com/install-limestone-tile-56171.html
https://www.builddirect.com/Limestone-Tile
https://www.doityourself.com/stry/how-to-cut-into-limestone-tiles
https://www.doityourself.com/stry/how-to-install-limestone-floor-tiles
https://www.limestone.com/about-us/limestone-learning-center/6-top-benefits-of-limestone-flooring/


