Vinyl Flooring Installation Tools and Accessories
When it comes to DIY vinyl floor installation, having the right equipment is practically more important than anything else. Whether you know what to do with them is one thing, but rest assured – once you’ve collected the necessary tools and accessories to get the job done, you’re only making the process easier on yourself. From first-time vinyl floor installers to seasoned veterans, here is the essential equipment you need to tackle this project and install your new vinyl flooring in no time:
Utility knife
You’re going to need a strong and durable utility knife for cutting up the vinyl and corners. You’ll want to find one that’s retractable, as well as a type that comes equipped with multiple blades that can handle cutting into different surfaces. If you find a blade that’s angled, it can allow for more control and handling while cutting along the vinyl edges. Utility knives are often sold at pretty cheap prices, but if you’re preparing for a bigger vinyl flooring installation, it’s always better safe than sorry to go with a higher quality model that you know will last you for a while.
Carpenter’s square
Another essential tool for the job is a carpenter’s square, which will help you with everything from measuring the size of your vinyl squares to converting any types of measurements you encounter. You need to make sure that you find one with a wide variety of angle markings, ranging from 30-degree to 90-degree angles. The carpenter’s square is how you will make sure all the adjacent lines of the tiles or planks fit together at 90-degree angles, as well as helping you adjust any off-balanced vinyl squares.
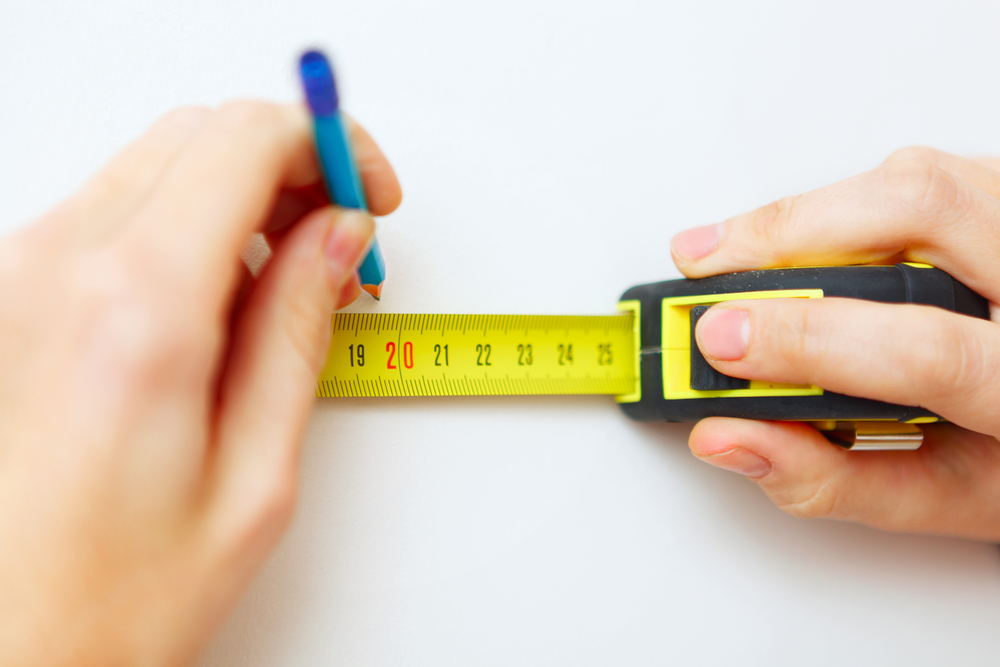
Tape measure
This might go without saying, but none of the heavy work can be done until you’ve adequately measured out the entire floor, determining the length and width of your surface so you can get a clear picture of how your vinyl floor will all fit together. The tape measure is your best friend for this step, and will also help you efficiently determine how many specific vinyl tiles or planks you’ll need to fit into each row.
Adhesive
“A thin-spread formula means that it will dry faster and be easier to clean up.”If you’re not using glueless click-lock or peel-and-stick vinyl flooring, you’re going to need a big tub of adhesive to bond everything together before you can enjoy the luxury of your new surface. When choosing the right kind of adhesive for your glue-down vinyl flooring, you definitely want to make sure that the type you use is compatible with vinyl composition. Check the label of the adhesive tub to see if it’s more of a thin-spread formula, which means that it will dry faster and be easier to clean up if you spill any. There are also a variety of adhesives that promise a drying time of 24 hours, but it’s usually a good rule of thumb to let the floor and adhesive gel together for around 48 hours.
Floor roller
Once you’ve applied all the adhesive to your surface, you’ll need a strong floor roller to help evenly balance and press the adhesive and the vinyl flooring together. While you can essentially get away with using most models of floor rollers, there are definitely some that are more convenient for supplying extra comfort. Find one that has rubber gripping to support your hands as you roll over the surface, and a model that has a detachable wheel is ideal for transporting and storing the device.
Do you already have the necessary tools for a vinyl floor installation?Click here to take a look at our stunning online selection of luxury vinyl flooring. Discover the right look for your space.


