How to Install Vinyl Flooring in Your Kitchen
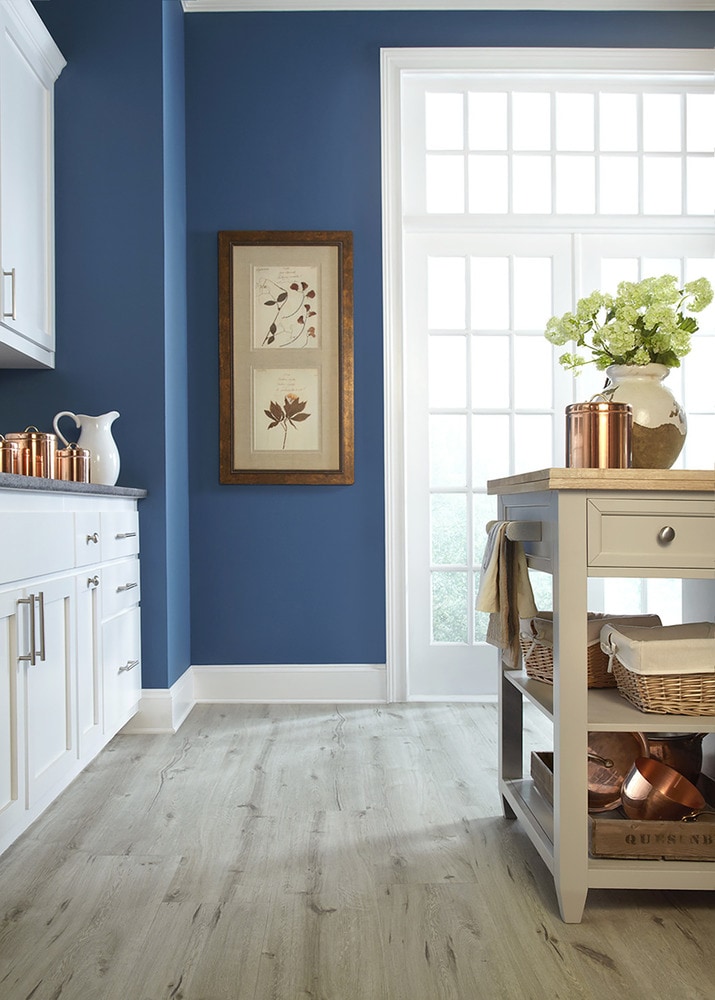
Vinyl kitchen flooring adds a charming touch to a kitchen, but it can be confusing to install if you don’t know how. You don’t need to hire a professional to help you, as the installation process for vinyl is simple enough when you have the correct materials and understand the proper steps. Vinyl is an inexpensive material to use for kitchens compared to tile, and is more straightforward to manage.
Unlike tile, a vinyl floor may be directly applied to a subfloor that’s plywood with no need for a concrete backer. Before installing vinyl kitchen flooring, make sure the heads of screws and nails are below the subfloor surface, take off any adhesive that’s old, and address other imperfections. Otherwise, you’ll be able to feel and see these areas below your Vinyl Flooring and they could damage the vinyl.
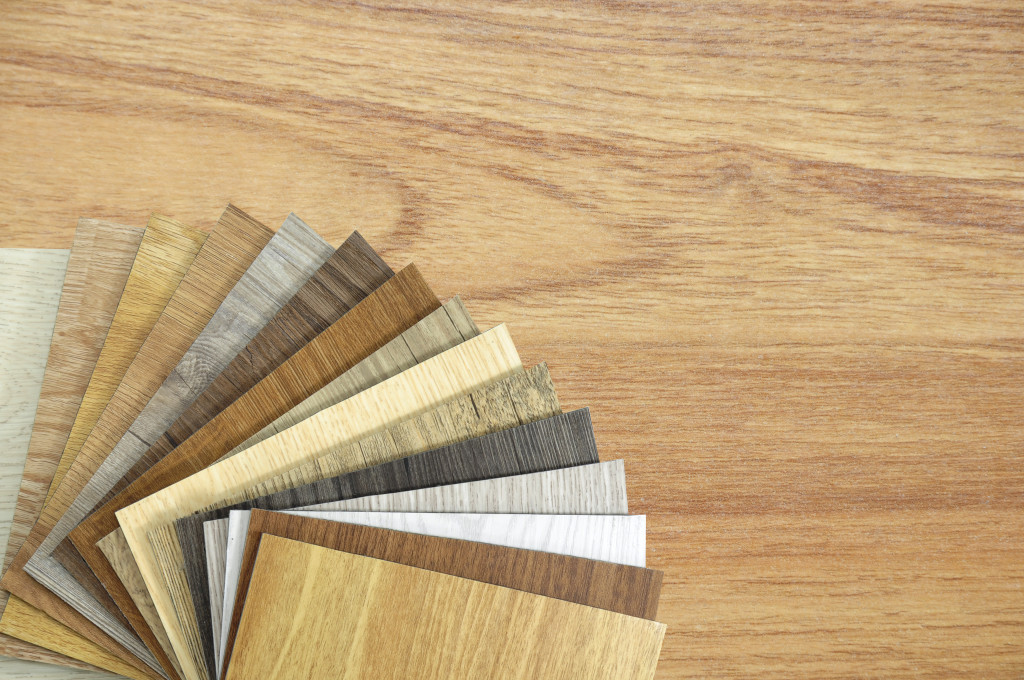
Choose the Perfect Vinyl Kitchen Flooring
Vinyl flooring comes in 6-foot and 12-foot widths. You can save at least half the cost, if not more, when you install vinyl on your own. Flooring that’s more expensive has patterns that are richer and a wear layer that’s thicker, but even moderately priced flooring will still last for at least 10 years.
Look at the flexibility different floors have by going into a flooring showroom and bending one of the corners of a sample. If you find the vinyl is stiff or the backing easily breaks, you won’t be able to install the floor without being at risk of damaging it. You can also order samples of flooring to take home and see how various options look in your kitchen.
It doesn’t hurt to have a sketch of the room with you along with dimensions so that a flooring representative can help you figure out how much flooring you need. Determine the installation requirements and make sure you buy a trowel, seam sealer if your flooring installation requires a seam, floor filler, matching caulk, and the proper adhesive.
Installation of Sheet Vinyl Kitchen Flooring
Remove Appliances
To begin, take out the refrigerator in addition to any other furniture or appliances from the kitchen. Use a flat pry bar and a hammer when working on the baseboard backing. Carefully pull the trim away from the wall, taking care not to damage it as you go. Take kraft paper and roll it out 1 inch from the base of the wall, going along one of the kitchen’s edges.
Paper the Floor
Use a 4-inch piece of masking tape to tack the kraft paper to the floor by placing the tape along the edge every 3 feet. Use scissors to cut the paper along the edge of the floor and attach the paper 1 inch away from the wall’s edge. Roll out another piece of paper and have it overlap the first one by about 3 inches. Attach the first and second strips with tape, and keep attaching strips until your paper is covering the floor and all edges are 1 inch away from the wall.
Mark the Perimeter
Take a framing square and place it on the floor so that it’s flat with one side against the wall. Use the paper to mark the location of the other side of the leg with a pencil. Have this mark go around the floor’s perimeter and make pencil marks along the framing square’s width on the edge away from the floor. Roll the vinyl flooring out in a larger room or outdoors and make sure the top surface is facing up.
Use the Template
Take away the paper template, keeping it in one piece, and put it over the sheet vinyl. Hold the template in place by taping it to the floor. Place the framing square on the line found on the template in the identical way that you drew a line on your paper in the kitchen. Use the framing square’s outside edge as your guide and draw a cut line in your sheet vinyl flooring with a marker that’s washable. Use this template to work with until you finish the cut line.
Cut the Floor
Place a piece of thick cardboard or a portion of plywood below the flooring. Use a sharp utility knife to pierce the flooring that coordinates with the cut line. Continue to move your plywood as you cut to preserve the floor underneath. Take your cut piece of flooring, roll it up, and bring it into your kitchen. Without using any adhesive yet, roll out the flooring to determine how it fits. Now is the time to make any necessary adjustments so that you’ll have a snug fit. Use a utility knife to make any precision cuts as necessary.
Adhere to Subfloor
Next, you’ll peel back the sheet of flooring to expose half of the underside and the subfloor underneath. Place an even layer of adhesive onto the underside of the vinyl flooring by following the instructions of the manufacturer, and then place the adhesive over part of the exposed subfloor. Working with a notched trowel, you’ll mark the adhesive and press the flooring down to the subfloor. Make sure you use a floor roller over the full floor to get out any imperfections you find and allow the adhesive to stick to the flooring well.
Install Trim
Place any quarter-round trim or baseboards back where they belong along the bottom of the walls. If your kitchen doesn’t have any baseboards or other trim, you can put a thin bead of tile and tub caulk around the room’s perimeter between the walls and floor for a more finished look.
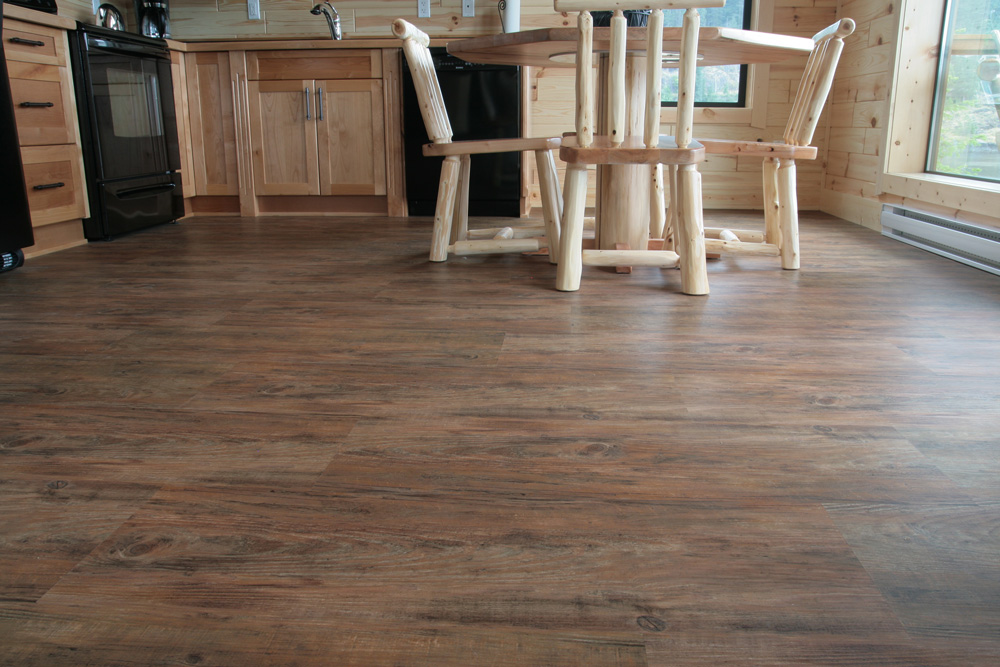
You’ll love the look of your vinyl kitchen flooring, and you’ll be proud that you installed it by yourself. The first step is to write down everything you need and purchase your supplies. Once you have all your supplies, you can begin the process of installing your vinyl. Once your kitchen is properly prepared, you’ll be able to start laying the flooring and see the results of the beautiful new floor you installed.

