How to Properly Clean Grout
Grout is essential for finishing any tile floor, shower, backsplash, or countertop. Unfortunately, it can get dirty, stained, or grimy over time, making the whole area look dull or dirty. Mold build-up in the bathroom, food stains in the kitchen, and left-behind dirt in the entry can all make a floor look dingy. Restore this porous material to its like-new look with proper grout cleaning.
How to Clean Grout the Right Way
You don’t have to go to the store and invest in heavy-duty chemicals or grout pens to get your floors or tile walls looking fresh. Many of the most effective grout cleaners are simple, homemade formulas using items you likely already have in your home.
Step 1: Mix a ph Neutral Grout Cleaner
The first step in how to clean grout is to create an effective grout cleaner out of products you likely already have sitting around the house. Start with recipe number one and clean your grout thoroughly. If stains persist, repeat the process using recipe number two. If you still experience some staining, recipe three may be necessary.
Recipe 1: You don’t want to erode the grout. For that reason, it is important to create a ph neutral grout cleaner by mixing together a 50/50 mixture of vinegar and water and pouring it into a spray bottle. In a separate bowl, mix baking soda with just enough water to form a paste.
Recipe 2: If you have tough stains, try mixing together hydrogen peroxide with a little baking soda. You are looking for a paste-like consistency – much like toothpaste. Repeat the cleaning process with this mixture in the areas that tough stains are present.
Recipe 3: When all else fails, using an oxygen bleach product may be necessary. Opt for OxiClean but stay away from anything containing an ammonia bleach, as it will destroy the grout itself and possibly the tile as well.
Step 2: Apply the Grout Cleaner
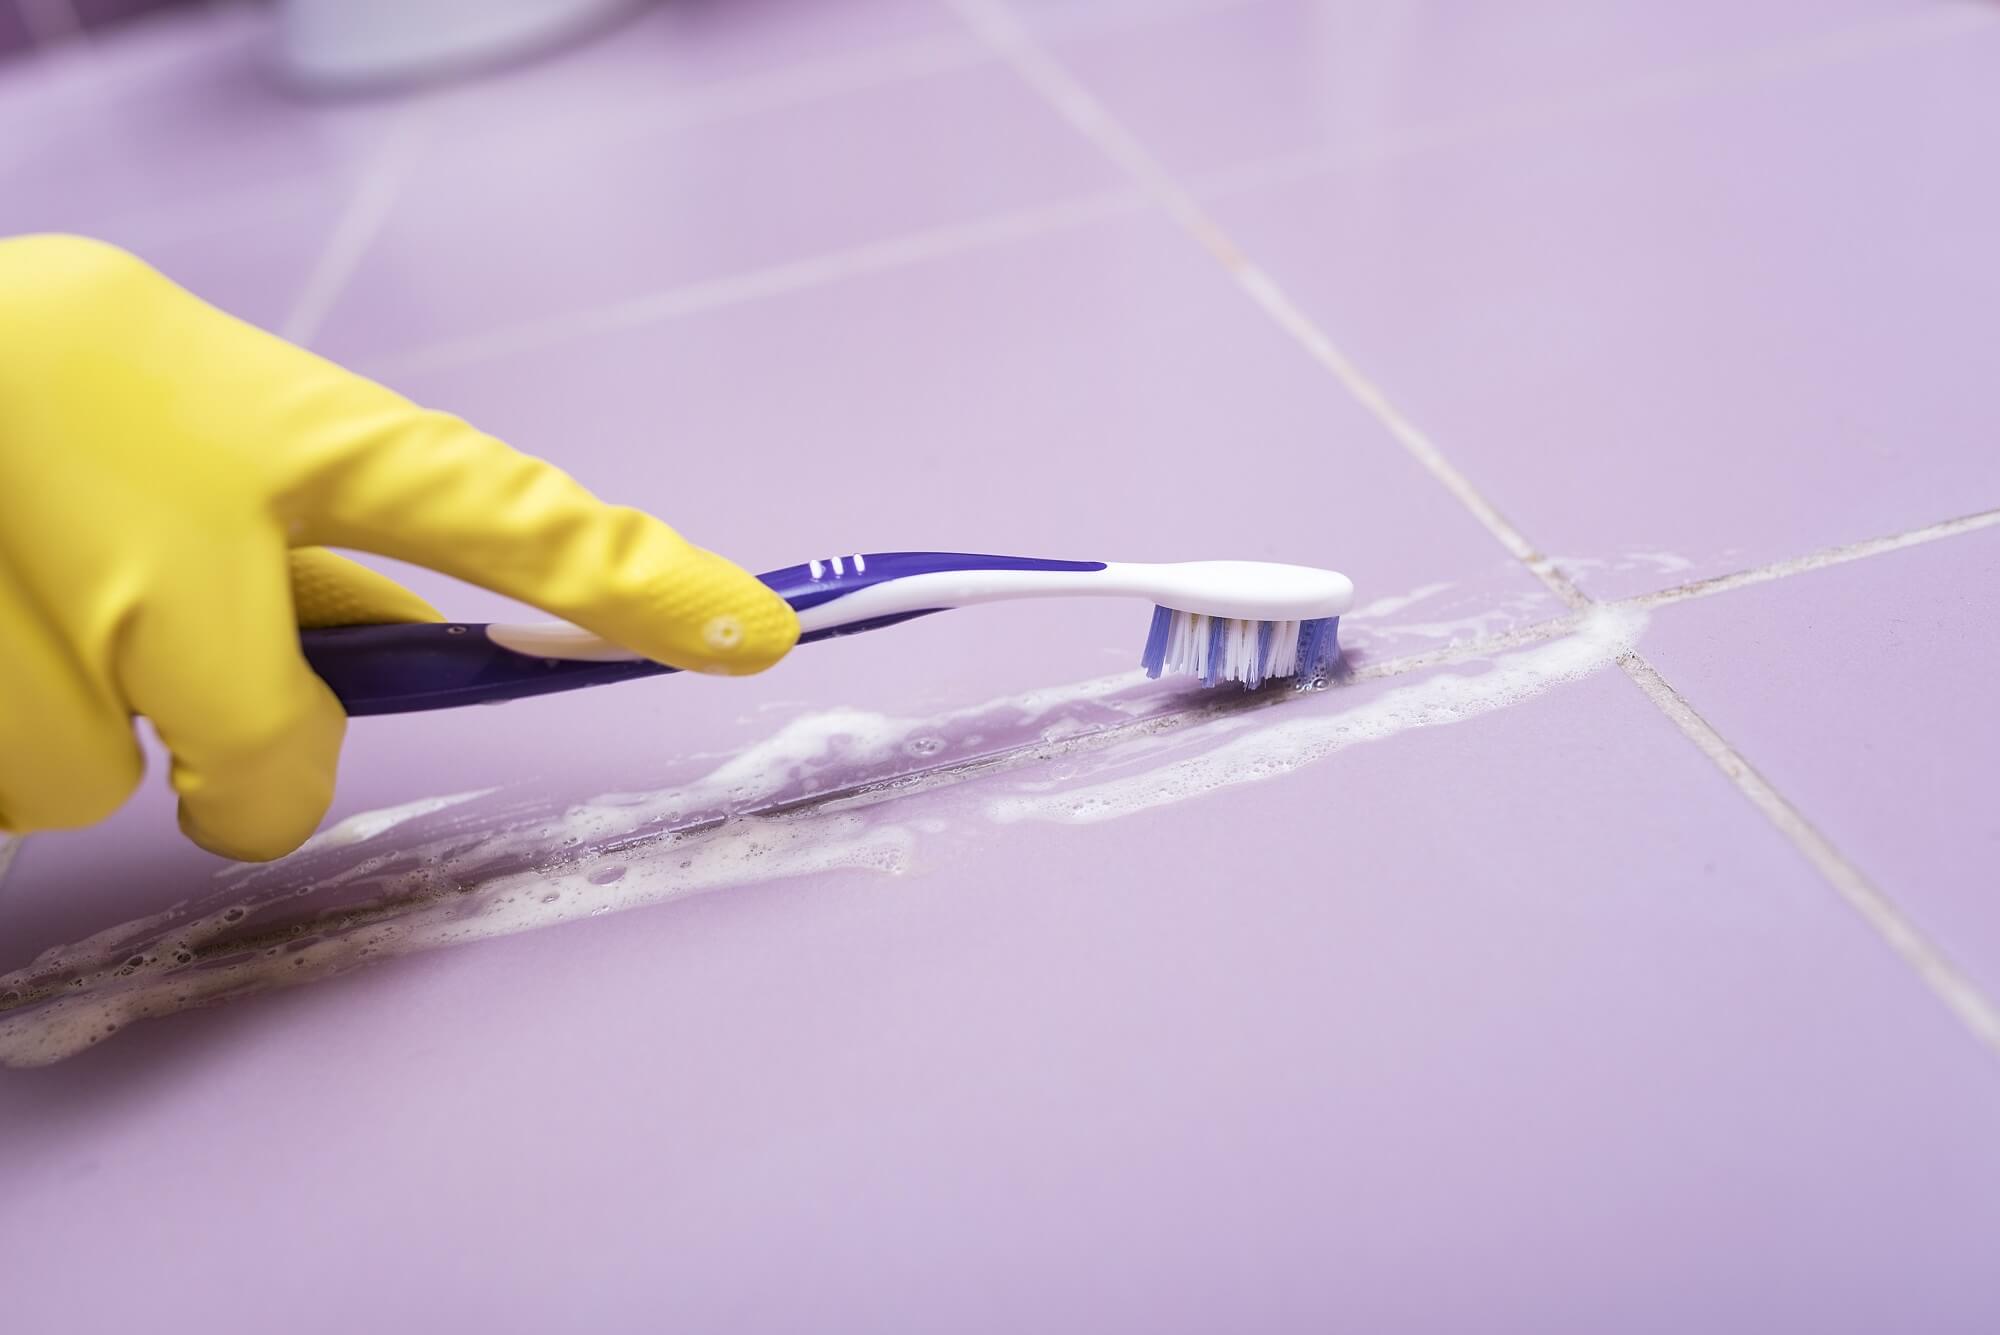
Using a small brush, such as an old toothbrush, apply the grout cleaning paste to the grout and then spray the paste with the vinegar solution. Allow the cleaning products to sit on the grout. Allow the mixtures to sit on the grout for between 5 and 10 minutes to provide plenty of time for them to penetrate the porous material and lift away dirt and stains.
Tip: Start by completing this process on an inconspicuous test area. Once you’ve cleaned a small test area with no damage to the tile, proceed to applying the cleanser to the rest of the grout as well.
Step 3: Scrub the Grout
Using the small brush you used to apply the cleanser, work the cleaner into the grout, scrubbing a small section at a time. Apply enough pressure to scrub away stains but keep it light enough that the grout does not lift out of place. Continue working in manageable sections until all the grout has been cleaned.
Tip: If you are cleaning an entire floor or an expansive area, try working on a grid area at a time…letting the cleaning solution sit on the next section as you scrub the first section.
Step 4: Wipe Away the Grout Cleaner
Using a damp rag and bucket or a mop, wipe away the cleaning solution and inspect the grout for any lingering stains. Re-treat any remaining dirt or stains with the same solution or move on to recipe two or three for re-treating any stubborn areas. If necessary, repeat steps two through four using the heavier-duty cleaning solution in only the necessary areas.
While cleaning your grout by hand may seem time consuming, it is actually much safer for the grout than steam cleaning. While steam does sanitize grout, it also causes damage over time and can make it necessary to repair the grout. Take the time to learn how to clean grout using the above technique so your tile floors, backsplashes, countertops, and showers will stay looking as good as new for many years to come.


