How to Install Carpet Tiles
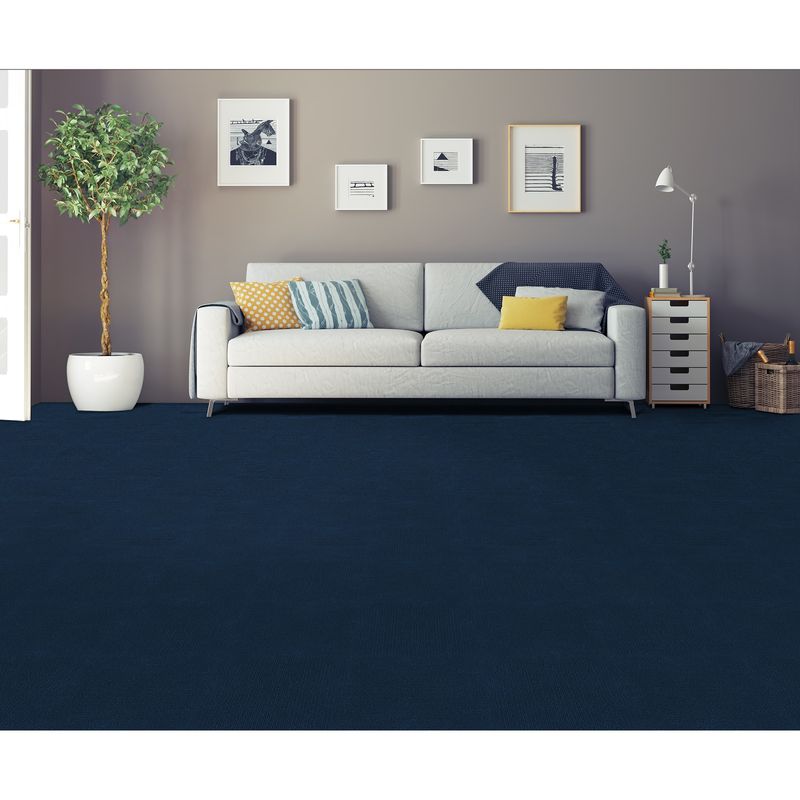
Navy SKU: 15274002
Carpet til𝚎s are colorful, versatile, and easy to install, making them the perfect comfort flooring option for homeowners and renters interested in do-it-yourself projects. What’s more, carpet tiles can be placed over existing floors, eliminating the time and effort needed to remove old flooring and flooring adhesive.
While laying carpet squares is a simple process, carefully taking things step-by-step will help ensure the tiles lay evenly and correctly, and last longer. That being said, here are the 7 key steps you should follow if you choose to install carpet tiles in your own home or rental.
GENERAL GUIDELINES
Tools needed: tape measure, utility knife or carpet knife, chalk line, cutting mat, and eye protection.
Do not use tape or adhesive products of any kind onto the surface. Doing so may discolor and/or damage the finish.
BEFORE installation: inspect all materials carefully for color, finish, sheen and defects before installation. Ensure adequate lighting for proper inspection. The warranty does not cover materials with visible defects once they are installed. If there are any doubts about the quality, dimensions, or appearance of the carpet tiles, DO NOT INSTALL. Please contact BuildDirect as INSTALLATION IS ACCEPTANCE.
Install carpet tiles from several boxes at one time to ensure a good color and shade mix.
Installation
- Choose a pattern: Having control over the carpet pattern is one of the many benefits of using modular tiles. For instance, each square could feature the same color, or you could mix and match several to create a customized look. As far as layouts go, you could choose one of these popular options (the direction each carpet tile faces is based on the arrow on the back of the tile, which indicates pile direction):
- Monolithic/Broadloom: Point all tiles in the same direction
- Quarter Turn/ CheckerBoard: Turn tiles 90 degrees from one another
- Ashlar: Point all tiles in the same direction; offset tiles by half a tile along the length
- Brick: Point all tiles in the same direction; offset tiles by half a tile along the width
Double-check your product specifications to make sure your desired layout works with your tiles. You can pre-lay a few carpet tiles in different arrangements to get an idea of how they’ll look in your space.
- Always work from several open boxes of flooring and “dry lay” the carpet tile before permanently laying the carpet tiles. This will allow you to arrange them in a harmonious pattern. It is the installers’ responsibility to determine the expectations of what the finished floor will look like with the end-user expectations.
- Each carpet tile comes with a tear sheet on the back with directional arrows to aid in installation. The arrows on the back of the carpet tile indicate the direction of the nap in the carpet. Carpet tile will appear to be different in color from each other when arrows are not run in the same direction of the desired design. Be sure the arrow on the carpet tile faces the direction of the desired pattern.
- Begin installation in the center of the room. Establish the center of the room by measuring an equal distance from the wall at both ends and snapping a chalk line, this needs to happen in both directions of the room. Where the two chalk lines intersect is where the installation will begin.
- Installing first peel and stick carpet tile: peel off the release paper and stick the carpet tile to the floor. It is critical you install the first carpet tiles straight and square, proper placement of the first carpet tiles is key to the installation. Apply weight to the carpet tile to secure to the subfloor. This can be done by pressing firmly with your hands or walking on it carefully. If a carpet tile is misplaced, simply lift it up, remove any dust or particles and place it in its proper position.
- After placing the first carpet tile, continue to place carpet tiles in the desired pattern by rotating the next carpet tile ¼ turn. Make sure the seams are snug. Be sure the arrows face the direction of the desired pattern.
- Install the third and fourth tiles: peel off the release paper and stick the carpet tile to the floor. Apply weight to the carpet tile to secure to the subfloor. This can be done by pressing firmly with your hands or walking on it carefully. If a carpet tile is misplaced, simply lift it up, remove any dust or particles and place it in its proper position. Be sure the arrows face the direction of the desired pattern.
- Continue installing additional carpet tiles in this manner until reaching final rows. Measure and cut final carpet tiles to length.
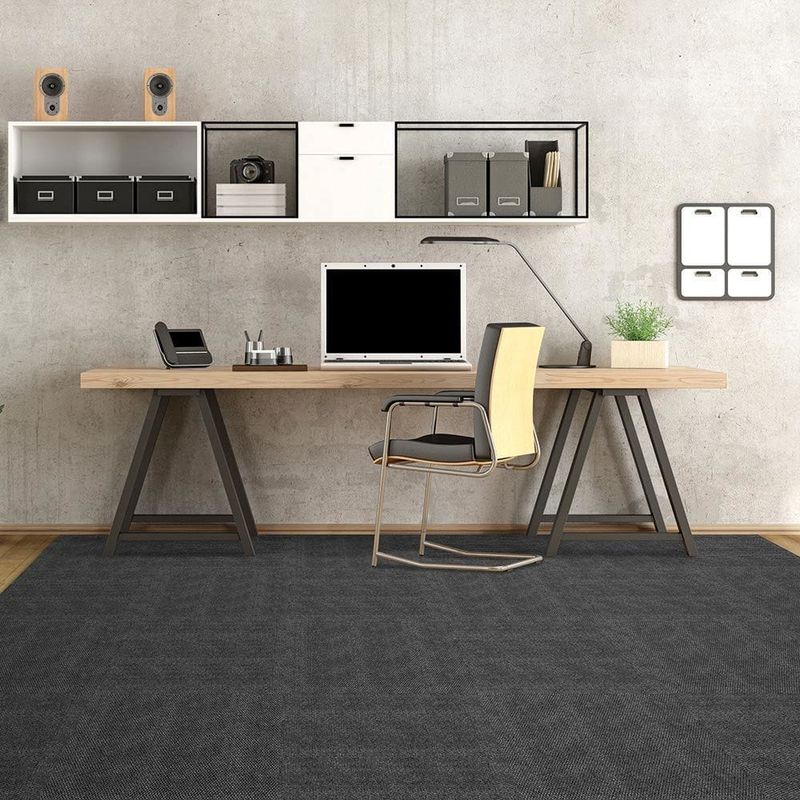
Radiant Heat
Use of under-floor electric heating mats or other under-floor heating units directly under carpet tiles is possible as long as the contacted area of installation is not above 120 degrees Fahrenheit.
Post Installation Maintenance
- Use rosin paper and cover installed carpet tile area to prevent damage from other trade works. Do not use plastic film or other non-breathing material.
- Clean up spills immediately.
- Routinely vacuum, carpet tiles. The carpet tiles can be vacuumed, shampooed, or hosed down for cleaning. As with any surface, please use caution when wet. Do not walk or drive on carpet tiles until they are completely dry.
- To protect carpet tiles, close blinds and/or drapes during peak sunlight hours. Excessive heat and light will subject carpet tiles to thermal degradation and potential fading effects. AVOID DIRECT SUNLIGHT EXPOSURE. Use non-staining, breathable mats. Rubber mats may discolor carpet tiles. Use floor protectors for furniture. Non-staining felt pads can be used provided they are changed on a regular basis to prevent dirt, debris, and sand buildup. Wide, non-staining casters at least 2” in diameter or floor protectors should be used on rolling furniture such as office chairs. To prevent point loads on heavy furniture, use large non-staining surface floor protectors. Do not use ball-type castors as they can damage floors.
- When moving heavy furniture or appliances, place a sheet of Masonite or plywood under the piece being moved to distribute the weight. For light pieces use a clean blanket or a piece of carpet face down under the piece to be moved. Be aware of any sharp edges as they can scratch and tear your floor’s surface.
Order your residential carpet tiles or commercial carpet tiles now.
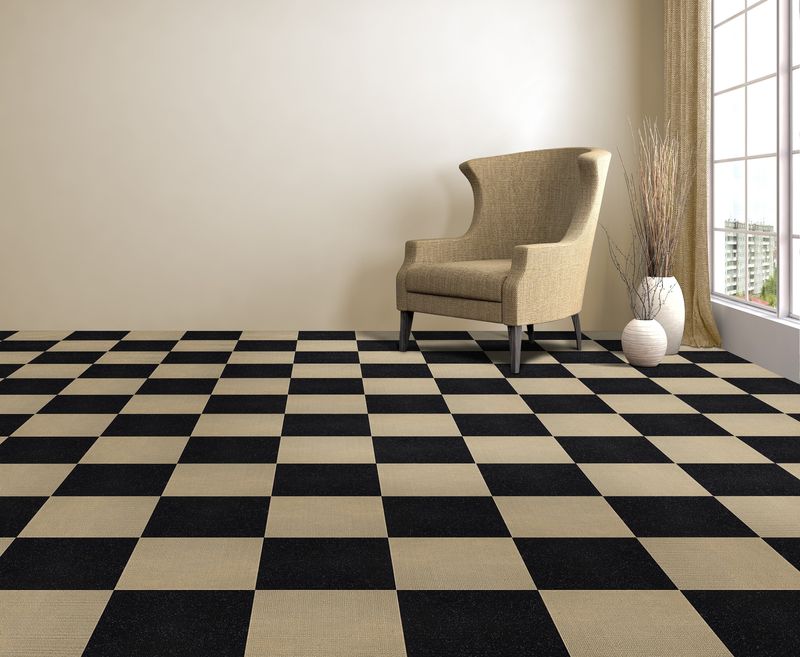
Jet SKU: 15203800



Ellen Simpson
Hi, Can you please tell me how to secure rubber backed carpet tiles to an existing glued down commercial carpet with no underlay or pile to the carpet. Can I use a spray adhesive on the rubber backing or can I use carpet tape. My concern is the carpet tape will not stick the rubber backing to the commercial carpet. Thanking you – Ellen
Chris Melanson
Is it dangerous to install carpet tiles on top of carpet padding? I understand this may make corners come up if excessive pressure is applied but is this guaranteed? Have you ever tried it?
Donna
We want to use carpet tiles in the basement. We pulled up the peel and stick vinyl tile that was there, but the sticky remains of the glue is still on the floor. The floor is dry. Do I have to scrape off the old glue? The floor is level. The basement is only used for storage, so perfection is not key here. Do I need a vapor barrier?
Tim
I have a slightly rough (bumps) concrete floor. Do I need to smooth that before putting down carpet tile
BuildDirect Product Expert Team
Hi TIm,
As long as the concrete is flat and level you shouldn’t have any issues, I just suggest laying a vapor barrier beneath the carpet tile to ensure it is protected. If there are large bumps that will be noticeable you may want to use a self-leveling agent. Please let us know if you have any other questions!
David Seals
Do I need to seal (w/something) newly poured cement before laying carpet tile or just make sure it’s clean & dry? Thanks!
BuildDirect Product Expert Team
Hi David,
You don’t need to seal the cement with anything just place a basic vapor barrier beneath the carpet tiles. Make sure the cement has fully cured before laying the floor to ensure you don’t have moisture issues. Please let us know if there is anything else we can help out with!
Angel
Can carpet tiles be placed over existing carpet tiles if the existing tiles are in good, level condition?
BuildDirect Product Expert Team
Hi Angel,
Thank you for getting in touch! I would not suggest installing the carpet tiles over existing carpet, they may not lay flat if the carpet beneath has too much volume. Please don’t hesitate to get in touch if you have any other questions!
tristen
where can i find in wrighting something that states that it is normal for the corners of the carpet tiles to not line up exactly and be offset slightly when you use the QUARTER TURN INSTALLATION METHODE.
BuildDirect Product Expert Team
Hi Tristen – thanks for reaching out to us! We’re not sure if we’re understanding your question properly, but here are the installation instructions we have on our website for carpet tile: https://dvlql5l8rro2c.cloudfront.net/production/bdsellerassets/carpet-tile/sonora/documents/sonora-carpet-tile-installation.pdf – as you can see, all of the installation types include the corners matching up, except for the stacked pattern. Please let us know if you have any other questions!
David Ong
How long will it take for pressure sensitive glue to dry before I can lay the carpets. Say in a dry and 75F temperature. Thanks.
BuildDirect Product Expert Team
Hi David,
Thank you for getting in touch! It will depend on the glue you use and the area it is in. The recommended time will be listed in the installation instructions of the glue you purchase. Please let us know if you have any other questions!
Karen L Ross
If the underlying surface is not level, is it recommended to put 1/4″ plywood beneath or would a roll out or other underlayment carpet type padding be better?
BuildDirect Product Expert Team
Hi Karen,
Thank you for getting in touch! If you have a slight grade in the subfloor, you will need to use some sort of self leveling compound to level out the floor. If you just have a new bumps or divets in the subfloor you can use an underlay to smooth everything out. Please let us know if you have any other questions!
Mary
How soon after putting carpet tiles down with double sided tape can furniture be placed in the room? Above says all furniture does not need to be removed from the room so wondering if there is a wait time before placing furniture. Thank You
BuildDirect Product Expert Team
Hi Mary,
Thank you for getting in touch! You can place the furniture back right away, just try to not drag any heavy furniture across the carpet when moving everything back in. Please let us know if you have any other questions!
Sofia
Are carpet tiles sustainable material?
BuildDirect Product Expert Team
Hi Sofia,
Thank you for getting in touch! Carpet tiles may not be the best option if you are looking for sustainable flooring. They are made with all artificial materials. Cork or bamboo would be a great sustainable flooring product to use. I have included the links below to our cork and bamboo flooring. Please let us know if you would like some samples or have any questions!
https://www.builddirect.com/Cork-Flooring-Results.aspx
https://www.builddirect.com/Bamboo-Flooring-Results.aspx
Sammy
We have been considering carpet tiles for our reception area, but it is not a very big area (and oddly shaped). Any tips on the best design to use? Had a solid color for last 20 years, and want to have some design/texture this time around.
BuildDirect Product Expert Team
Hi Sammy,
Thank you for getting in touch! The first thing to note is that if it is a smaller space, it would be good to go with a medium sized pattern or design. Anything too small or too large will completely take over the room. Also, if it is an oddly shaped room you may want to stay away from rectangular or square patterns as it will emphasize the shape of the room. I have listed the link to our carpet tiles, please feel free to order some samples or let us know if you have any other questions!
https://www.builddirect.com/Carpet-Tiles-Results.aspx
Brittany
Can carpet tiles be placed on top of ceramic tiles? Is there any preparation that must be made to do so? How would you handle the transitions from the areas you wish to carpet to areas where the ceramic tile will remain (i.e., hallways, room borders)? Thanks!
BuildDirect Product Expert Team
Hi Brittany,
Thank you for getting in touch! Carpet tiles can be laid on any surface that is flat, dry, clean and level so ceramic tiles should be fine. You should be able to find transition pieces that either match the carpet tiles or the ceramic and use them in the areas you are transitioning between the two floors. Please let us know if you have any other questions!
BuildDirect Product Expert Team
Hi Amit, thank you for your feedback! We’re glad we could help provide a bit of insight. Please don’t hesitate to get in touch if you have any questions!