What Type of Tile Backer Board Is Right for My Project?
A successful tile installation depends largely on the type substrate the tile is adhered to. Whether it’s a wall, floor, or countertop tile installation, using the right substrate is crucial for preventing cracks and breaks in the tile and grout. Backer board is the best substrate for tile. Plywood and OSB substrates can warp and mold with water damage, but tile backer board will do neither. It’s hard, flat, and incredibly stable.
Here, we look at tile backer board, including types, applications, and tips for properly installing it.

Types of Tile Backer Board
Backer board comes in a variety of materials for a range of purposes. These are the most commonly used tile substrates:
Cement Backer Board
Cement backer board is also called cement board, and it’s the most commonly used backer board for all manner of ceramic and porcelain tiles. Made of cement and reinforced on the top and bottom with fiberglass, this waterproof backer board is generally used for tiled shower surrounds and floors in wet areas. It can also be used for exterior tiling jobs. Cement board comes in sheets ranging from 1/4-inch to 1/2-inch thick.
Fiber Cement Board
Fiber cement board, also known as fiber board, is made from a sheet of Portland cement mixed with sand and cellulose fibers. Fiber board is recommended for floor tile installations, since thin-set mortar adheres well to it, ensuring a strong tile-to-floor bond. Fiber cement board comes in sheets measuring 3 x 5 feet with a thickness ranging from 1/4-inch to 5/16-inch.
Glass Mat Gypsum Board
Made from water-resistant gypsum treated with silicone, glass mat gypsum board is reinforced with fiberglass mats on top and bottom. This type of backer board is lighter than cement board and is ideal for damp spaces like the tub surround in the bathroom, although it can become damaged if water gets behind it. It’s not the best choice for larger-format floor tiles. Glass mat gypsum board comes in 4 x 5 feet sheets in 1/4-inch and 1/2-inch thicknesses.
Styrofoam Backer Board
Styrofoam backer board is extremely lightweight, and it’s strong and waterproof. It’s also easier to cut than other backer boards, and it’s dust-free. It’s ideal for wet areas like the shower walls or floor.
Water-Resistant Drywall
While not considered backer board, water-resistant drywall can be used in spaces where occasional splashes may occur but which are otherwise dry, such as a glass-tile backsplash in the kitchen. Water-resistant drywall is less expensive than cement or gypsum backer board, but it shouldn’t be used in very damp or wet areas.
Plywood
Plywood also isn’t considered a backer board, although it’s often used as the substrate for tile installations. But plywood isn’t the most ideal substrate for tile, since it expands and contracts with temperature changes and will rot and mold if exposed to moisture or high humidity. However, you can lay backer board over a plywood substrate, as long as the substrate is least 1-1/8-inches thick. Alternatively, instead of backer board, you can use two layers of plywood topped with a waterproof uncoupling membrane, which is a lightweight plastic underlayment that allows independent movement between the tile and the plywood to prevent cracks in the tiles and grout. Backer board is usually a simpler way to go than plywood.

Why Backer Board is Essential for Tiling Jobs
Laying tile directly on a surface like plywood or an existing floor can cause major problems down the road. Tile installed directly over wood will likely buckle as it absorbs moisture, and the wood will be susceptible to mold and mildew. Additionally, wood substrates expand and contract with temperature and humidity changes, which makes it an unsuitable surface for tile. Tile laid directly over an old linoleum or vinyl floor may shift and break if the surface contains air pockets or is susceptible to moisture. Laying tile directly on an existing floor can also cause problems if the tile is very heavy or will be supporting heavy furniture.
How to Install Tile Backer Board
Half-inch cement backer board is ideal for most tiling jobs, including walls, floors, countertops, and ceilings. For flooring, the backer board should be installed over a 5/8-inch thick OSB or plywood base. For countertops, use 3/4-inch plywood beneath the backer board. And for walls and ceilings, apply 1/2-inch or 5/8-inch backer board screwed directly to the wall studs or joists.
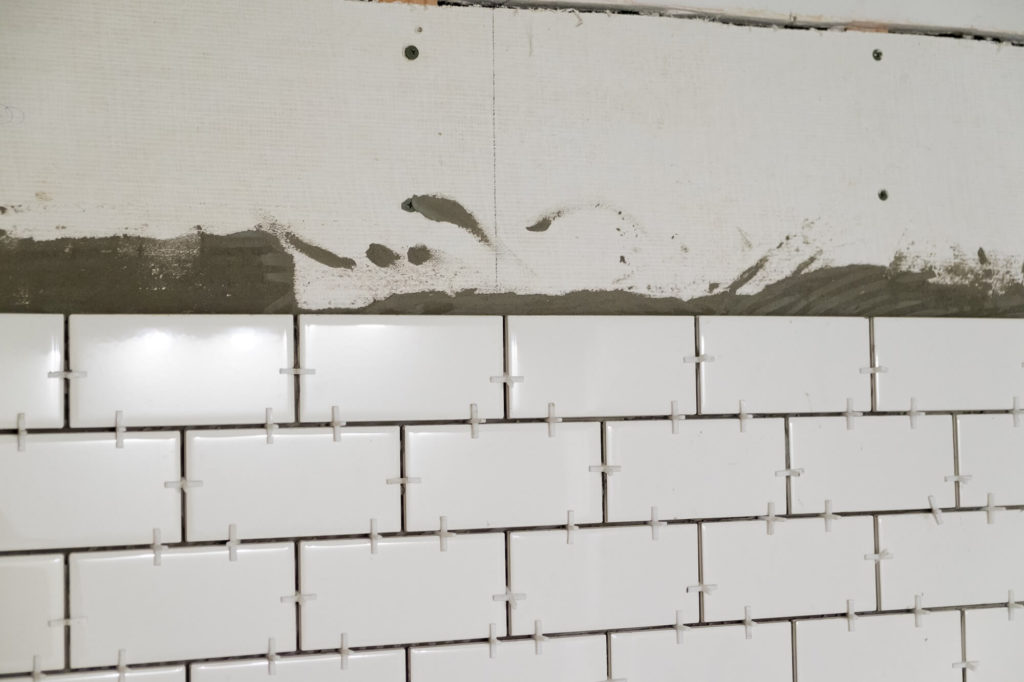
You can cut cement and gypsum backer board with a jigsaw fitted with a carbide blade. If you’re installing backer board on the subfloor or over an existing substrate on the wall, apply thin-set mortar to the sub-surface and comb it out with the notched side of the trowel. Press the backer board firmly into the to mortar, then screw it to the sub-surface, placing screws around six to eight inches apart. Use screws specifically designed for your type of backer board, as recommended by the manufacturer. Sink the screw heads slightly below the surface of the backer board.
Maintain a 1/4-inch distance between backer boards and along the perimeter of the wall. Stagger the seams for added strength and durability, ensuring that you don’t have four corners meeting in one place. When all of the boards are installed, fill the joints with thin-set, and smooth them with the flat side of the trowel so that the thin-set extends a couple of inches on either side of the joint. Cover the seams with fiberglass seam tape, removing excess adhesive from both sides of the tape as you go. Then, spread adhesive over the tape, using just enough to cover the tape while ensuring a smooth transition to the backer board. Allow the adhesive to set before installing the tile.
The Bottom Line on Tile Backer Board
Backer board helps ensure a durable, long-lasting tiling job. It helps prevent cracks in the tile and grout due to moisture, humidity and temperature. Cement backer board is sturdy, waterproof, and an ideal substrate for any tiling job, inside or outside.

