Spring Cleaning: Porcelain and Ceramic Edition
The temperature is rising, the days are sunnier, and flowers are starting to peek their heads above the ground. It’s springtime, and with it comes warmer weather and the motivation to get the house and garden ready for the new season. As the birds chirp outside your window in the morning and the world feels fresh and new, many want their homes clean inside and out to match the newness and beauty of the world outside.
If you feel the same way, you know that there’s lots to do and clean in order to get your home spick-and-span. As you clean, floors shouldn’t be forgotten. Replacing floors can be a huge investment and by cleaning, repairing, and protecting your floors, you’ll have them around for longer while still looking great! If you have porcelain or ceramic floors, here are some tips for deep cleaning and maintaining these surfaces.
Preparing the Floor to Be Cleaned
Typically, tile should be cleaned on a regular basis to keep it looking great. This involves sweeping or vacuuming the floor daily, and then mopping on a weekly basis. When it comes to a deep clean, however, you’ll want to be more thorough.
If it’s possible to do so, remove all items from the floor. This could include furniture such as a kitchen table, chairs, and stools. This will give you a clear view of the floor, so you can focus on cleaning each tile without missing any.
Cleaning Grout
The first thing you’ll want to work on is getting the grout clean. This is typically the hardest to clean, so it’s not always worked on when the rest of the floor is mopped. That can leave the grout looking dark-colored and, to be honest, pretty gross, even if it was originally white. Here’s how to get that grout looking new and beautiful, even if it hasn’t been cleaned in years. Plus, all you need is some baking soda and vinegar (it’s the secret to cleaning most hard-to-clean surfaces in your home).
 Step 1
Start with getting the dust and dirt off the floor. Sprinkle the baking soda all along the grout using your finger to make sure that the grout is completely covered. With a spray bottle filled with vinegar, spray along the grout line. Keep to small areas at a time, about two to four feet square. As the vinegar hits the baking soda, it will foam and bubble. This chemical reaction will help lift the dirt out the of the grout.
Step 2
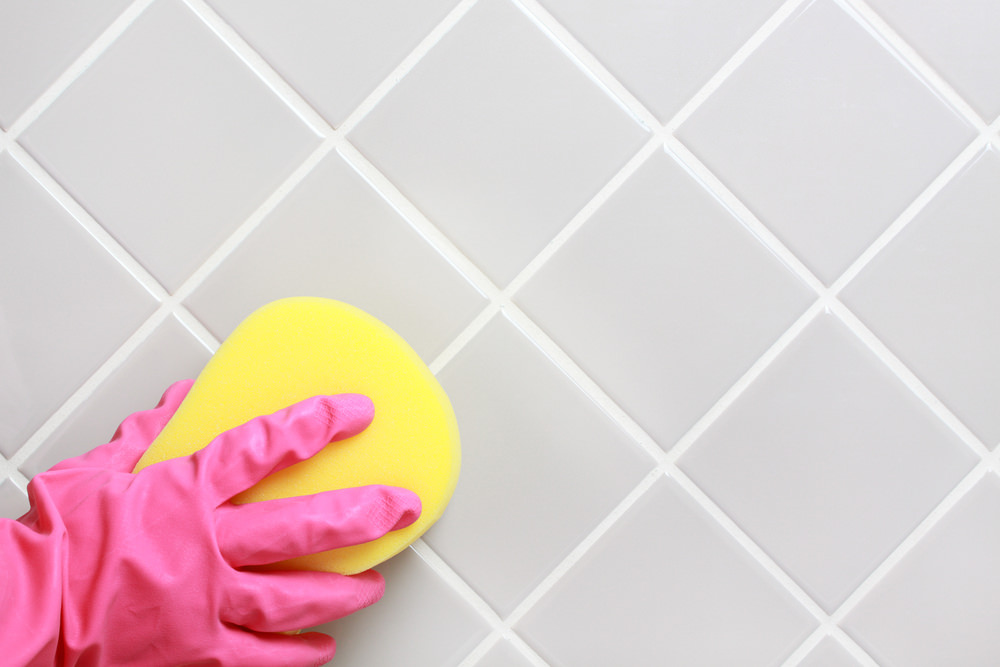
With a small bucket of water in one hand and a scrub brush in the other, scrub along the grout line. If it’s been a while since the floors were cleaned and the grout is pretty dirty, you’ll need to dip your brush in the bucket often to rinse it off. Flick off as much water as possible, though, before going back at it. You want to leave the baking soda on there to help scrub away the dirt.
Step 3
Once the dirt is loosened, wipe away the dirt with a dry cleaning rag. Once the floor is dry, vacuum up the excess baking soda and then go over the tile with a mop.
Deep-Cleaning Tile
Most of the tile will be cleaned when you clean the grout, but since the grout was your focus before, now it’s time to focus on the tile.
Step 1
Starting with a small area, just like you did with the grout, take vinegar, diluted in hot water, and saturate the floor. Clean the small area thoroughly before the vinegar is able to dry.
Step 2
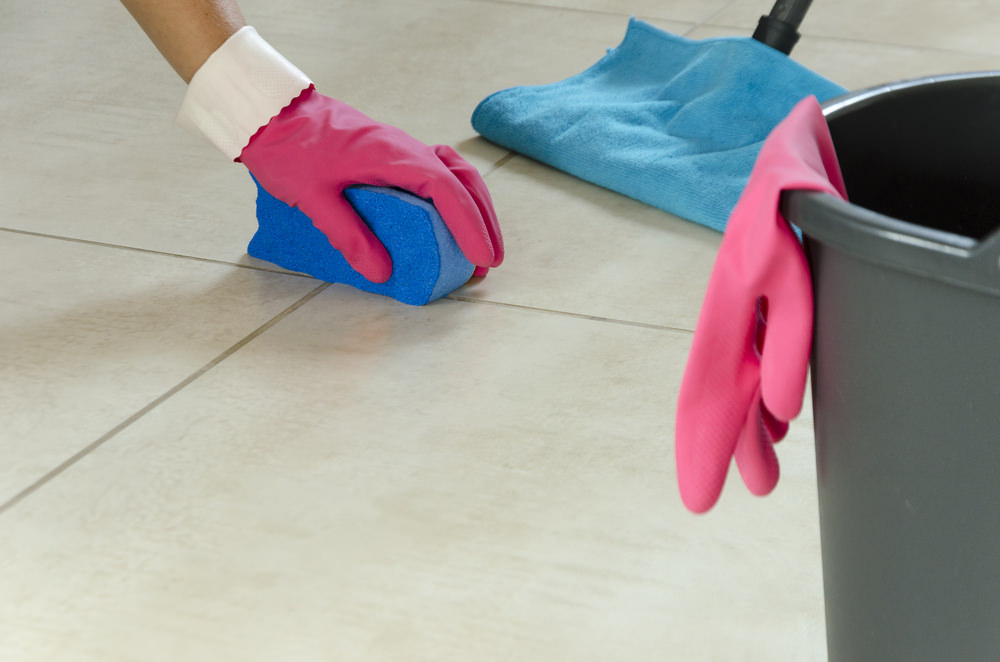
Rinse the area and dry with a dry towel. Because tile is durable, you don’t have to worry about being gentle with it, so feel free to scrub hard if needed.
Step 3
If you run into any stains in the tile that are not removed by the vinegar solution, you have two options: baking soda or oxygen bleach. Baking soda might work to get out the stain, but if not, an oxygen bleach product is the best way to remove stains, and it’s nontoxic and safe for your family and pets. Just mix the oxygen bleach product with warm water and stir so it dissolves. Pour the solution on the tile so it covers the stain and let sit for about 15 to 30 minutes (don’t let it dry). Then scrub lightly to remove the stain, pouring more on the stain as you scrub.
Repairing Cracks and Chips in Tile
As you go through the tile and clean, take note of any cracks, chips, or other problems with the tile. Although tile is durable, if a heavy object is dropped onto it, it is possible for it to chip or crack.
Hairline Cracks
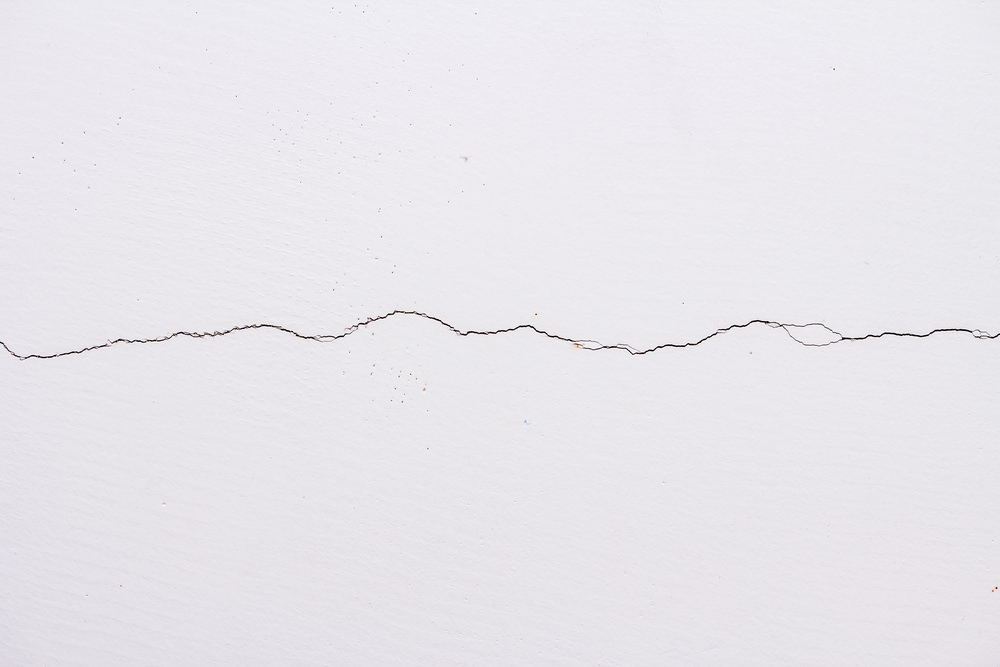
Hairline cracks can typically be fixed just with painting over the crack with a paint that matches your tile. For larger cracks, filling it in with a glaze will help prevent further cracking. You can then paint over the crack to help improve its appearance.
Large Cracks
If the cracks are too big or there are many on the tile, the next-best option is to replace the tile. If you have tile left over from when it was installed, this isn’t too hard of a prospect. Using a carbide-tipped scoring tool, rake out the grout around the cracked tile. Put painter’s tape around the edges of nearby tiles to protect them and then, using a hand drill with a 1/4-inch ceramic bit, drill evenly spaced holes.
Using a 3/8- or 1/4-inch chisel and a hammer, gently tap the pieces so you can remove them. Using a notched trowel, spread thinset mortar on the back of the tile and on the subfloor, and set the tile in place, pressing firmly. Let it set for two hours and then mix up some grout and apply it. Once the grout is no longer tacky, clean off the excess with a damp sponge. Avoid walking on the tile for 24 hours while it cures.
Taking time to inspect your porcelain and tile floor once a year helps keep your floors looking beautiful and protects your investment.
Resources:
http://www.doityourself.com/stry/how-to-prevent-and-remove-discoloration-on-tile-bathroom-floors
https://www.thespruce.com/porcelain-tile-vs-ceramic-tile-1822583
https://www.bobvila.com/articles/how-to-clean-porcelain-tile/#.WNkjJix1pl8
http://www.integrity-tile-and-grout-cleaning.com/cleaning-porcelain-tile.html
https://learning-center.builddirect.com/flooring/clean-different-types-porcelain-tile/
http://www.howtocleanstuff.net/how-to-clean-porcelain-tile-flooring/
http://www.theflooringlady.com/porcelain_tile_flooring/
https://www.thisoldhouse.com/how-to/how-to-replace-broken-tile
http://www.askthebuilder.com/chipped-tile-repair/
http://makinglemonadeblog.com/green-cleaning-with-vinegar-grout-tub-sink-cleaner/
https://www.bobvila.com/articles/cleaning-grout/#.WNkwmCx1pl9
http://www.washingtonpost.com/wp-dyn/content/article/2009/04/03/AR2009040302977.html


 Step 1
