Essential tools for snap lock wood flooring

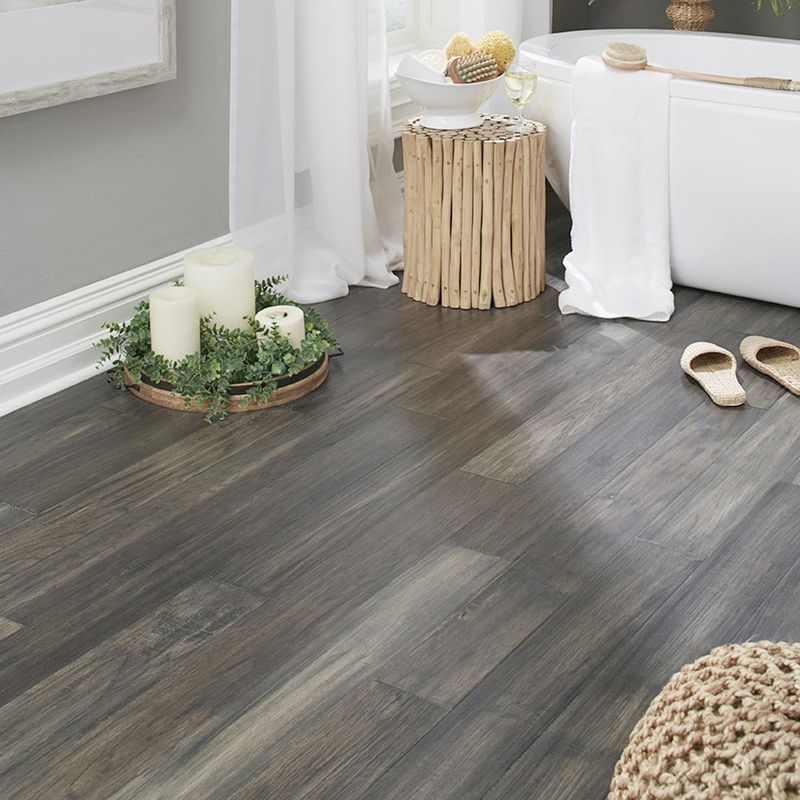
Hickory
SKU: 15269185
If you’re aiming to install snap lock wood flooring DIY, there are some crucial tools you’ll need to get the job done. This flooring is durable, beautiful, and easy to install with just a few easy steps. From engineered wood to authentic hardwoods, these floors will add a sophisticated look and feel to your home. Read on to learn more about the most essential tools for snap wood flooring installation so you’ll be ready for the big day.
Measuring Tape
It may seem obvious, but the first tool you’ll need for installation is a high-quality measuring tape. Some of the planks will need to be cut to specific lengths, and you’ll also need to know the dimensions of the room. Make sure that your measuring tape has large numbers that are easy to read, and that it’s long enough to span the entire room. Whether you choose a beautiful hickory click lock wood flooring or another species, it’s vital that all of your measurements are correct. You will also need a decent pencil to make lighter colored floors like birch, or a fine white marker to mark darker flooring so it’s easy to see where to make your cuts.
JigsawWhen you’re cutting the laminate or wood planks to a specific length, a jigsaw is an optimum tool. This handheld power tool has a straight, narrow blade that moves back and forth and works best for cutting both wood and laminate. You can cut the floor directly over a 5-gallon bucket to catch excess sawdust and debris. Use a reverse jigsaw blade so that it doesn’t chip the top surface of your floors and leave a jagged edge behind. These blades are inexpensive, and they’ll make cutting each piece a whole lot easier than a larger chop saw.

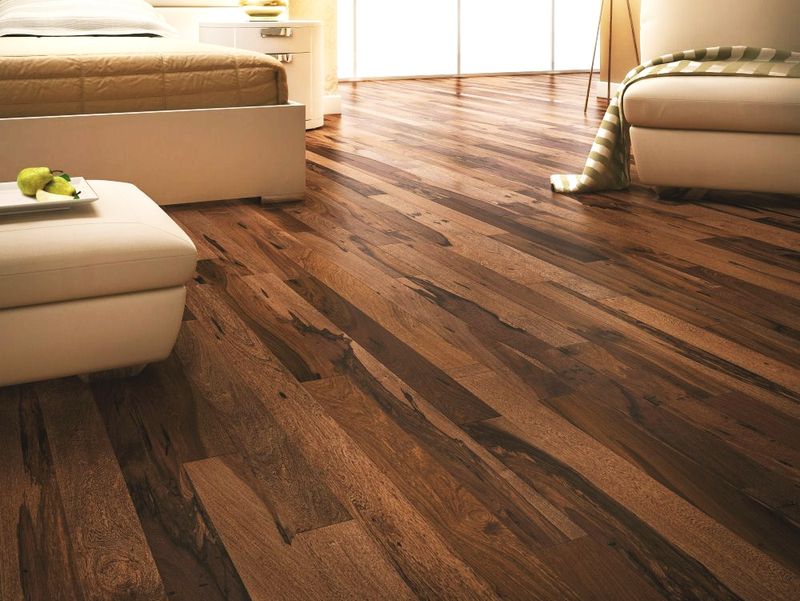
Brazilian Pecan Chocolate
SKU: 10084196
Rubber Mallet
A rubber mallet will make it easy to smoothly connect each piece of your click lock wood flooring together. You may need to use the mallet with a tapping block to help bring each individual section of flooring together in a tight, seamless way. Rubber mallets are softer than a traditional hammer, but they’re just as powerful. They’re also much quieter and won’t damage your floors like a hammer might.
Tapping Block
Most snap wood flooring features a locking system that connects each piece together. If you run into a tight spot, a tapping block can help you get each section connected and tightly installed against the wall or in corners. Each end of this flooring features an interlocking tongue-and-groove section that cannot be hit with your mallet or a hammer. A tapping block is specially shaped to fit the tongue and groove and sits tightly against the edges. Simply tap the block with the rubber mallet until the section of flooring is tightly against the next piece. You can find this tool at most home improvement stores or improvise by making your own with a scrap end piece of your flooring.
Pull Bar
No matter what type of click lock flooring you choose, each piece must be installed tightly together and end-to-end. A mallet and tapping block won’t work for every part of a room since tight corners and unusual spots will make it impossible to swing the mallet. A pull bar can help you accomplish this much more easily. These hook-shaped metal tools are bent on one end to adjust the end of the flooring, and the other end is bent to help your mallet strike and drive it forward for a seamless install.

Gray Oak
SKU: 15271130
Level and Combination Square
When installing any type of flooring, it’s absolutely crucial that everything is level. This is especially true for floating floors, but all installation jobs should be checked to ensure that the floors are straight and level. Choose a long level with a large bubble so you can easily see the level status of each piece. A combination square is another great tool that helps you mark square cutting lines where the flooring meets the walls. The square can be adjusted to any length, while the attached level ensures a straight and even cut.
Sealant and Caulk Gun
Once you’ve finished installing your snap lock wood flooring and confirmed that everything is level, it’s important to seal the seam where the floors meet the edge of the wall. Using a caulk gun, apply a thin bead of clear silicone sealant in a thin, even bead where the floor and wall connects. Finally, your beautiful new flooring installation is complete and you can finish things up by installing the baseboards and trim. With the right tools, installing snap wood flooring is a breeze.


